
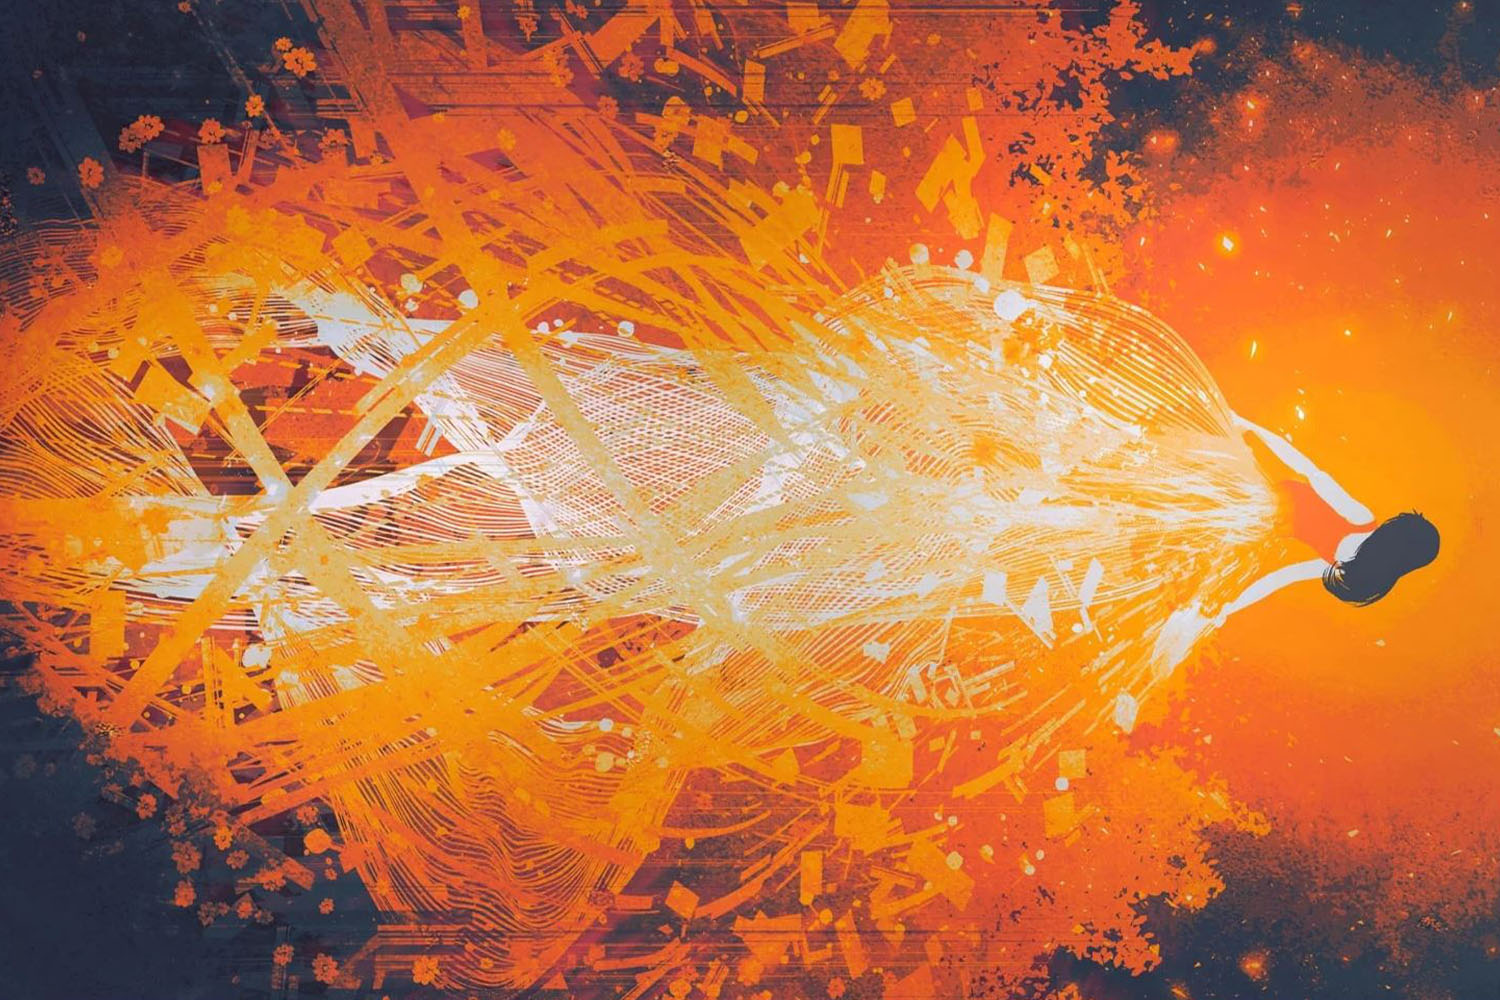

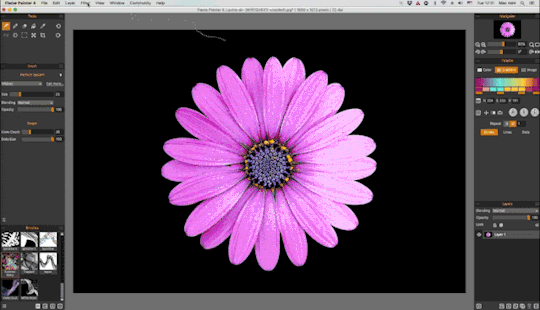
Even though you may use the latest Flame Painter 4 every day, you may not have found all of its secrets. In fact, the recently released upgrade has a few tricks up its sleeve that you probably are not aware of. In this blog, we’d like to share with you some tips so you can take full advantage of the recent version.
1. Use artificial pressure of mouse - If you don’t own a graphics tablet with a pressure-sensitive pen, don’t worry! You can still achieve similar results of stroke fading with your mouse thanks to the feature we’ve implemented to Flame Painter. Set the ‘Fade’ value for Mouse pressure in the Brush Creator panel for each brush. Open the panel via the Window menu or with the button at the bottom of the Properties panel. Go to the ‘Shape’ section of the panel, then select ‘Stroke’. Here you can set the Fade value for Mouse pressure from 0 to 10. Zero means no pressure, while 10 is the highest artificial mouse pressure possible.
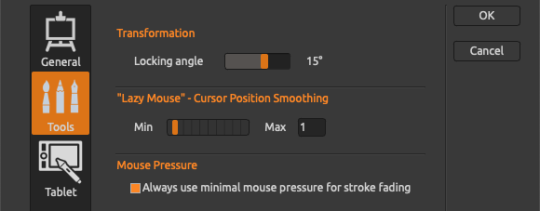
If you would like to use you can use artificial pressure even when Fade is set to ‘0’, just enable ‘Always use minimal pressure for stroke fading’ option under Preferences > Tools:
This is especially handy when you use a custom brush that has a Fade value set to 0. This way you will still be able to achieve results with a mouse as if they were painted with a pressure-sensitive pen.
2. Set ‘Smoothing’ options - Various smoothing options for your brush strokes are at your disposal in Flame Painter 4. The Position Smoothing lets you set the smoothing of cursor position for both mouse and pen. When set to ‘Max’ value, the cursor will follow more smoothly and you can paint beautiful calligraphic lines.
The Pen Pressure Smoothing enables you to set the smoothing of pressure for tablet pen. When set to ‘Max’ value, the pressure transitions in the stroke will be smoother.
And finally, the Pen Sensitivity Smoothing gives you the option to set the smoothing of the pressure sensitivity curve for tablet pen. When set to ‘Soft’ less pressure is required, when set to ‘Firm’ more pressure is required.
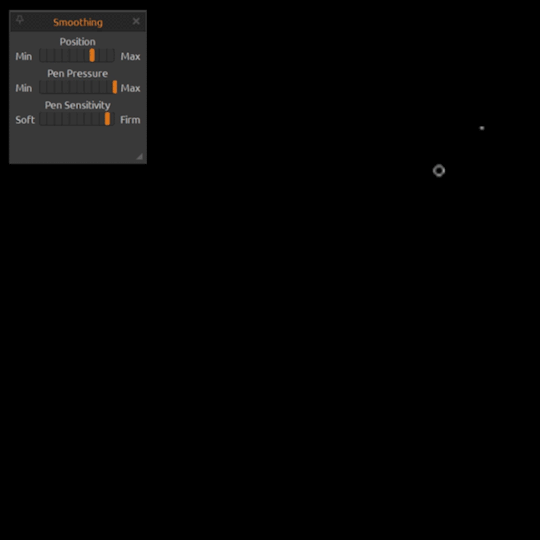
Each of these settings can be found in a separate pop-up panel of the Properties panel or directly in the Preferences.
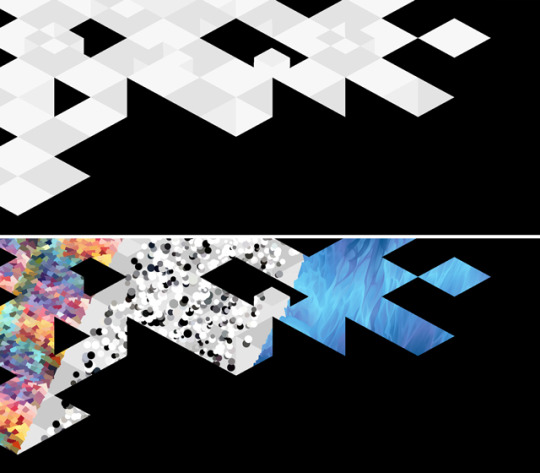
3. Explore ‘White’ or ‘Black to Alpha’ Filters - These two features are quite hidden in the Filter menu. Have you ever wondered what they are good for? Just like in Rebelle, these two “filters” remove black or white background from the current layer. Meaning, if you have a design or a photograph with a white or black you can easily remove it with one click in Flame Painter and add your own creative background layer:
4. Have fun with tiling on a vector layer - Tiling has been part of Flame Painter for some time, but to version 4 we even made it possible to tile the vector layers. You are able to create some fantastic designs with this option and if you’re not 100% satisfied with any of the brush settings, easily change it and the vector paths will adjust:
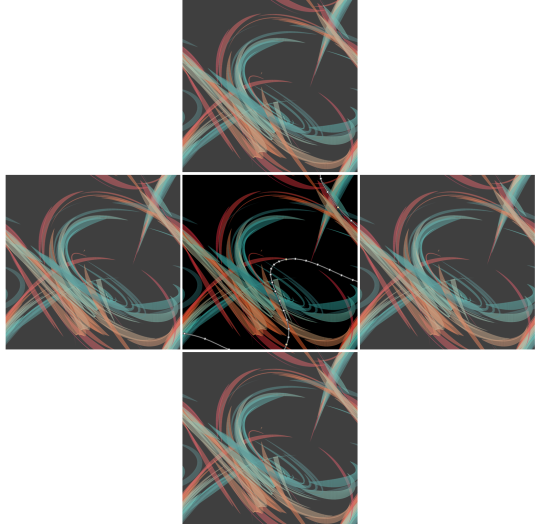
Enable tiling from within the ‘Filters’ top menu in Flame Painter 4.
5. Experiment with ‘Lock Transparency’ - Lock all transparent pixels of a layer with this simple function. This way, you can re-design your already painted strokes or import custom shapes and designs and overlay them with Flame Painter’s brushes loaded with a texture:
Lock Transparency is available in the Layers panel, next to the Lock Layer button.
6. Import custom images to Brush Creator panel - Brush Creator panel in Flame Painter gives you immerse possibilities for your brush creations. One of them is the import of custom shapes. You can either create the shapes in a third-party program or download some from the internet. Another option is to create them directly in Flame Painter 4. With the function ‘Set Image from Layer/Selection’, you are able to quickly load the image to your currently selected brush, just like on the video below:
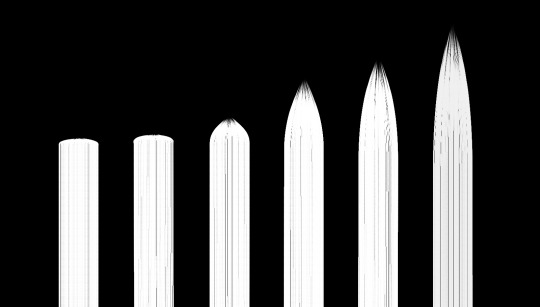
7. Raise the quality of your strokes - There are many ways of improving the quality of painted strokes. For bitmap layers, set the Detail of the brush to higher values in the Brush Creator panel. In addition, turn on the Antialiasing (AA) to diminish jagged lines and smooth the painted lines. For vector layers, use the HiRes Renderer via the Layer menu. This is a polygonal renderer which fills the space between dots and makes the picture smoother without the appearance of Moire artifacts. Also, if you save your work in JPGs, don’t forget to turn the JPEG quality to the maximum in the Preferences panel.
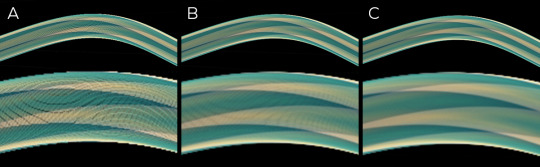
( A ) - Detail 1, no AA | ( B ) - Detail 1, with AA | ( C ) - Detail 4, with AA
8. Extend canvas with ‘Safe Boundary’ - If you’re new to Flame Painter you can easily overlook this simple yet effective feature. The Safe boundary creates a boundary around your file’s borders which serves as an extended canvas. If you need to move your design a little to the left, right, up or down, you can! Because your design is already being painted on the safe boundary. Just go to the Preferences and set the ‘Safe Boundary’ option to visible. Here you can also set its size and opacity which will be applied to the next new file you’ll create.
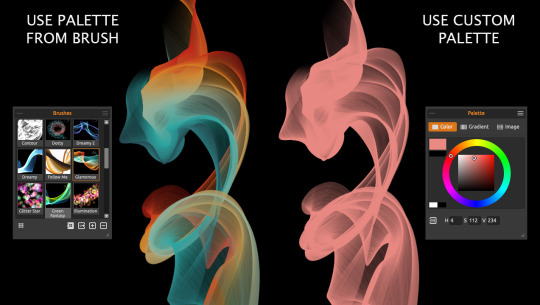
9. Use palette and blending from brush - This option is accessible from the Brushes panel. When active, the palette - either color, gradient or an image, and the blending mode is used from the brush currently selected in the Brushes panel. If you would like to use the palette you created in the Palette panel and the blending mode in Properties, just deactivate the button. Afterward, all brushes will use the same palette and blending mode. This can be useful when you need a particular color but you’re not sure which brush to use:
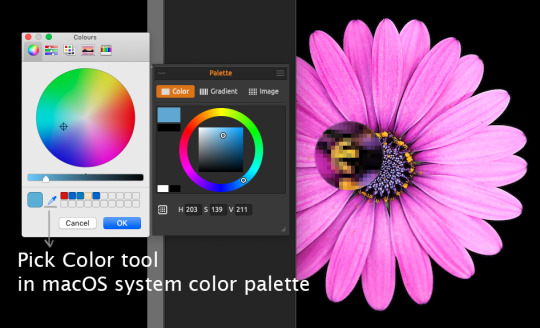
10. Pick colors outside Flame Painter - To be fair, this is not Flame Painter’s feature but it may be very useful for all of you who follow a specific color manual. You can pick color also outside of Flame Painter - via the System color palette. Just click on the actual color in the Palette panel of the software to open the system color palette. Window users can select “Pick Screen Color” while macOS users can select the pick color tool here.
Do you find these tips useful? What other features do you like to use in Flame Painter that other users may not know about? Do you have any tips or tricks for other users for working with the software? Let us know in the comments.
Your Escape Motions Team
———————
What do you think?
0 Responses
0
Upvote
0
Funny
0
Love
0
Surprised
0
Angry
0
Sad
Sign in to comment!
Be the first to comment.