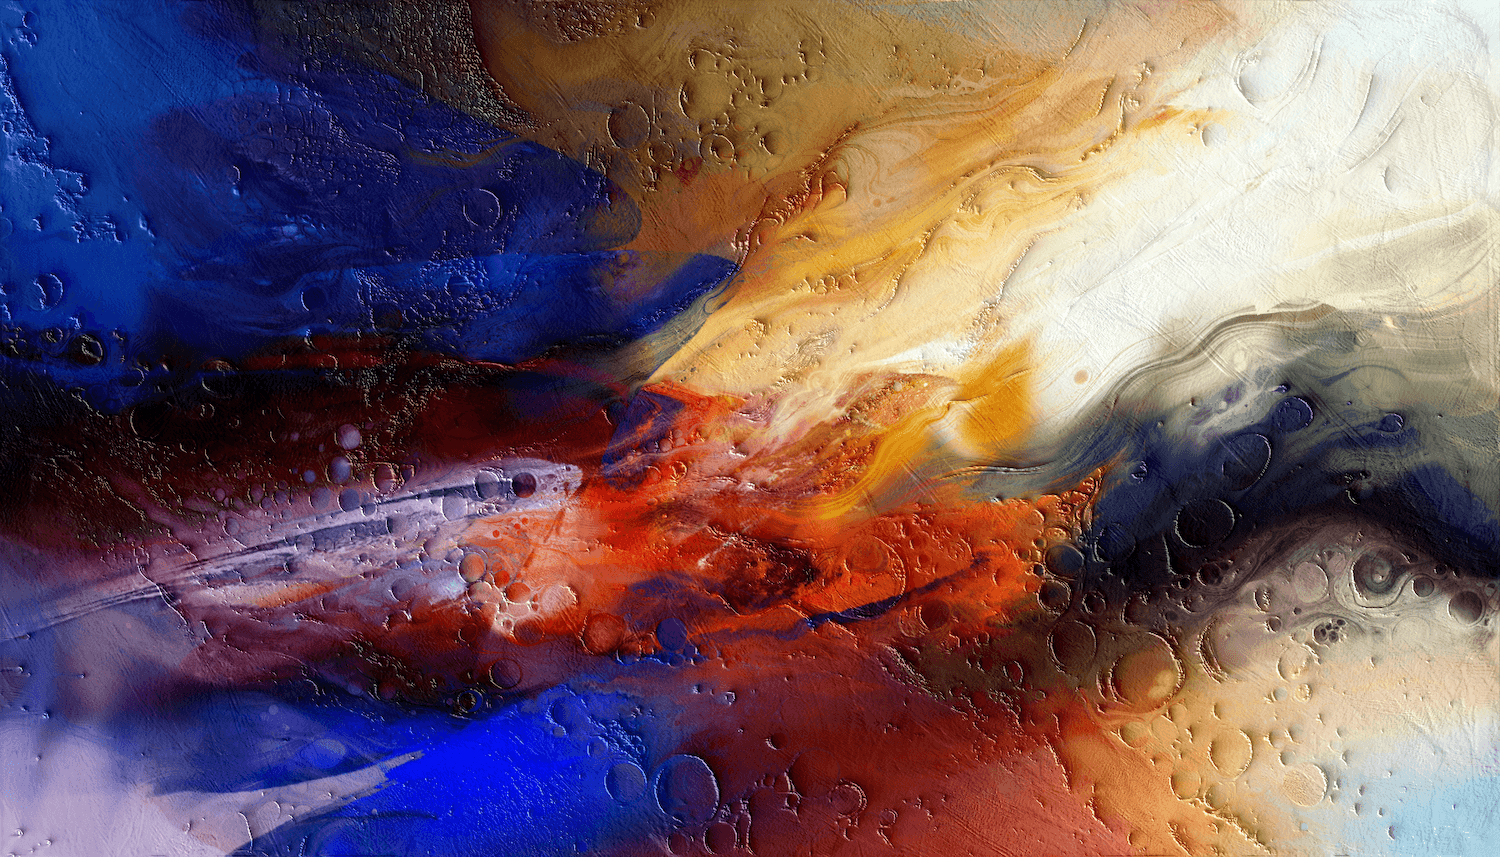

In this tutorial, artist Michael Forte (@farshore) invites us into his process for creating flowing abstract artwork in Rebelle. Rather than simply applying color, he sets up conditions and allows the medium to evolve, guiding the process as it unfolds. This approach opens the door to results that would be difficult, if not impossible, to achieve with traditional techniques.
STEP 1: Setting Up in Rebelle
Before diving into the creative process, it’s worth getting comfortable with a few key Rebelle features. This workflow relies on a combination of tracing layers, opaque masks, clipping masks, and water & diffusion controls. Understanding how these elements interact will make everything that follows feel much more intuitive. If these settings are new to you, it’s worth taking a moment to explore them first:
Tracing Layers – Let you sample color from another image while painting.
Masking Options & Clipping Masks – Restrict paint to specific areas.
Living Digital Canvas – Controls how water spreads and paint moves in Rebelle, covering paint diffusion, Tilt, or options like Show/Hide Wet, Pause Diffusion, or Fast Dry.
STEP 2: Color Composition and Masking
At the core of the technique for creating flowing abstract artwork are two simple but powerful components:
• Color composition image – your visual starting point
• Mask – the invisible structure that guides the flow
The color composition is an imported image that acts as your palette. It can be anything that might produce interesting results when allowed to move and diffuse: a photograph, a color study, an image created in another editing program, or something painted directly in Rebelle. What matters is not how it looks initially, but how it transforms once the color begins to flow.
TIP: Choose a high-contrast image with clear, vibrant color separation, as these will produce more dynamic and visually engaging results when the paint begins to flow. Avoid muddy or low-saturation images, since subtle color differences tend to blend together and lose impact during diffusion. Examples of color composition images - a photograph or an abstract painting, anything that has captivating colors.
The mask, on the other hand, defines where that flow can happen. Masks can come from many sources: fractals, hand-painted textures, vector artwork, or procedural structures created within Rebelle itself. Any black-and-white image can serve this purpose - its white areas can be made transparent, while darker areas restrict or block movement. Example of a mask (on the left) created with Escape Motions' Amberlight software and the artwork it produces (on the right) when used as a mask in Rebelle.
In this tutorial, we will use the color composition image and mask below. The image on the left will be used as a color source for our painting, and the Rebelle structure on the right will be used as the foundation of our mask. Remeber, all full-sized resources are available for download at the end of this blog. Our color composition image on the left and the Rebelle structure as a mask on the right. These resources are available for download at the end of this blog post.
STEP 3: Thinking About Proportions
Before any paint starts happening, one of the first considerations is the aspect ratio of your final work. If your mask contains important shapes or features, the canvas should closely match its proportions. Otherwise, those elements may become stretched or distorted, losing their intended impact.
Equally important is canvas size, which directly affects how the paint behaves. With a large canvas, you might get a slower diffusion, especially when there is a lot of color and water on the canvas. There’s also a practical factor: the performance of your CPU. The more data the simulation has to process, the more your system will feel it.
In this example, the mask is sized at 1,792 × 1,024 pixels, offering a balanced middle ground between speed and control. By matching the canvas size to the mask, both composition and behavior are aligned from the start. It’s a simple decision, but one that removes friction later and keeps the focus where it belongs = on the flow itself.
STEP 4: Underpainting
Here, the goal is to build up impasto - thick, textured paint that will later flow, shift, and gather as it interacts with water and the mask. Start by locking your color composition layer and setting it as the tracing layer (hit the letter 'T' in the Layers panel). Then duplicate it and rename the new layer to 'source'. This will be your working layer, while the original continues to provide color reference while you trace its colors.
Next, choose an oil brush capable of laying down visible impasto. Whichever brush you use, make sure it creates enough thickness. Once wetted, this impasto will begin to flow and naturally accumulate in areas where the mask blocks movement.
In this case, we're using the 'Oil Paste' brush (the brush preset is available for download at the end of this blog). Set the brush mode to 'Paint & Mix' mode (available in the Properties panel), so it samples color from the composition layer while mixing with what’s already on the 'source' layer. This helps reinforce the original color structure before introducing movement. Tracing the colors of the color composition layer on a 'source' layer.
STEP 5: Starting the Paint Flow
With your color source prepared, it’s time to bring the painting to life. Start by duplicating the 'source' layer and renaming it to 'flow'. This is the layer where everything happens - where water is added, the color is wetted, and freely allowed to diffuse and spread across your canvas.
Prepare the Mask
Next, set up your masking layer. Select the mask and convert the white areas to transparency using Rebelle's main menu: Filter → White to Alpha, then lock the layer to avoid accidental changes.
Activate the mask by choosing 'Mask Opaque' from the Masking fluid menu (hit the letter 'M' in the Layers panel). This will let the paint flow in the transparent areas masked by the flow mask, block paint flow in the opaque areas masked by the flow mask, and permit a partial paint flow in the partially opaque areas masked. Think of it as defining where your paint can travel and where it must stop.
 Original mask image on the left vs. the mask image after using the 'White to Alpha' filter. All white has been filtered out, and these areas are now transparent.
Wet the Canvas (Without Movement… Yet)
Return to the 'flow' layer and turn on 'Show Wet' and 'Pause Diffusion' - both in the Layers panel. This lets you prepare the surface without triggering movement.
Select a 'Water' brush, increase its strength slightly, and begin painting water onto the canvas. As you do, the blue overlay deepens, showing where moisture is building up, thanks to the 'Show Wet' function. These are the areas where paint will eventually move.
 'Flow' layer with water applied by a Water brush 'Soft 2', 'Show Wet' enabled, simulation paused.
Turn on 'Tilt' to influence the future direction of flow, then add more water where you want stronger movement. Tilt simulates gravity, controlling the direction paint flows. The Tilt panel is accessible on the right side of the default user interface or via the main menu: Window → Tilt.
Release the Flow
When everything is ready, turn off 'Pause Diffusion' in the Layers panel. The paint begins to move in real time, spreading, blending, and responding to both the water and the mask. Watch how the impasto starts to shift and gather.
Use 'Show Wet' to monitor how much water remains; this gives you a sense of how much longer the paint will continue to flow. If needed, you can guide the process by adding more water to extend movement.
Use the 'Blow' tool available in the Tools panel to gently push paint in specific areas (subtle with oils, but still useful). The key is restraint - let the system do most of the work.
Lock It In
When the result feels right, stop the process with 'Fast Dry' in the Layers panel - this will remove all water from the layer while keeping it wet. At this point, the diffusion has stopped, and your flowing composition is set. Our 'flow' layer, before the diffusion starts (on the left) vs. after the diffusion finishes (on the right).
STEP 6: Final Touches
Play with Layer Blend Modes and Opacity
Duplicate the 'flow' layer and set its blending mode. For the current color composition, the most suitable option is Soft Light. For this image, the difference is hardly noticeable, but for other images the change can be quite striking. You can experiment with various modes before picking the best choice.
Toggle the layer’s visibility to see how the blend mode subtly increases the color density and depth of your image. You can also adjust the layer's opacity to achieve the desired effect. Once satisfied, lock the layer. You can always return later to fine-tune the opacity as you refine the final image. Our final image before applying the blending mode (on the left) vs. after applying the blending mode and adjusting the opacity (on the right).
This next step is optional, but it can add a subtle and interesting layer of depth to your image. Take the original color composition layer and move it to the top of the layer stack. Then place the flow mask directly beneath it and set it as a clipping mask. This allows parts of the original image to reappear through the flow, gently blending structure back into the more organic result. It’s a quiet effect, but one that can add richness and visual complexity.
Check the Final Composition
With the image complete, take a moment to step back and evaluate it. Use the 'Flip' and 'Rotate' controls (located below the Navigator) to view the artwork from different angles. A simple flip can reveal imbalances that weren’t obvious before.
Keep in mind that rotations other than 180° can be tricky to finalize in Rebelle for non-square canvases, so those adjustments are often easier to handle in an external image editor.
STEP 7: Finalize Your File
Once everything looks right, organize your work by unlocking, selecting, and grouping all layers that make up the final image. This keeps your file clean, structured, and ready for any future adjustments. Save as PNG with transparency and also as REB, so you have your project ready for editing whenever you want.
Considering how long it takes to learn to draw and paint, the enormous number of sketches, color studies, etc., flowing color will require a similar time investment. Fortunately, you will not have to buy media, paper, and other materials for digital painting. All you will need is time and a few electrons, and in addition to the experience, the practice results may likely be useful as resources in later efforts.
Happy Painting!
Escape Motions Team
----
Michael Forte is a photographer and artist working in both physical and digital media. His artwork ranges from representational to semi-abstract to fully abstract. He particularly likes making images that expand the range beyond what people usually expect - flowing color abstractions, digital drawings (semi-abstract and representational), and mosaics. See his portfolio: https://www.escapemotions.com/community/user/farshore
DOWNLOAD RESOURCES: LINK

What do you think?
0 Responses
0
Upvote
0
Funny
0
Love
0
Surprised
0
Angry
0
Sad
Sign in to comment!
Be the first to comment.