

Among all the amazing features Rebelle software offers, there is one that will help you create beautiful paintings from imported photos easily and effectively. That feature is called color tracing. It is a great way of laying down the preliminary colors that you easily pull out of your source image.
_normal.jpg)
Rebelle software gives you the tools to create paintings by tracing colors from an imported image and recreating existing images in your artistic way. It is also a popular way of painting to boost your artistic confidence, simplify a complicated photograph, or just have fun and relax without thinking about the object of the painting. In this blog, we're going to break down the steps to follow to color trace your favorite photos in Rebelle 4.
1. Set up your canvas
Start with creating a new canvas via Rebelle's menu File > New Artwork. A New Artwork window will open where you type in your dimensions in centimeters, inches, or pixels, choose the DPI and the paper for your canvas. Confirm by hitting the OK button:
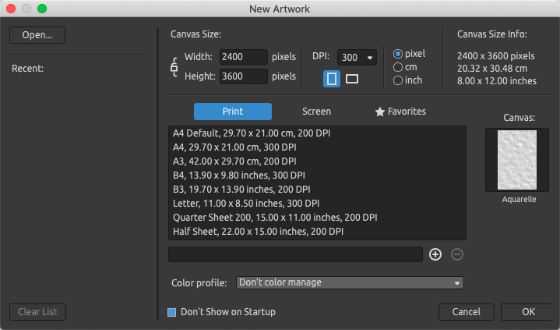
The size of the canvas can be the same as the photo you are going to import. If the dimensions do not match, you will be able to adjust the photo right after you import it.
2. Import your photo
Import the photo you plan to trace the colors from by going to the menu File > Import. Rebelle also allows you to drag & drop the photo directly from any source - folder, browser, or website. The imported photo will open as a new layer.
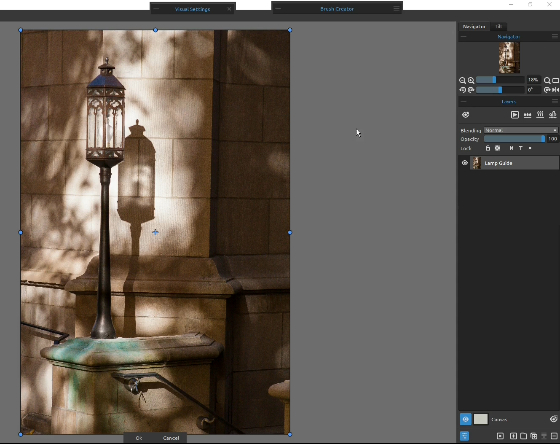
If the dimensions of the photo do not match the size of the newly created canvas, you can easily adjust the photo's size right after you import using the blue control points - enlarge, scale down, or crop accordingly:
3. Think of photo corrections and layout
Before you start painting it is a good idea to take another look at your photo. Consider whether it needs any corrections - for example in terms of adjusting color or changing the layout. Remember, the better the composition and the colors of the photo, the better painting you will be able to create. If you need to make color corrections, use the Filter menu available directly in Rebelle - adjust brightness, contrast, hue, saturation, and more. If you need to correct the layout of the photo, the Transform, Image size, Canvas size, and Selection tools are at your disposal.
4. Plan your layers
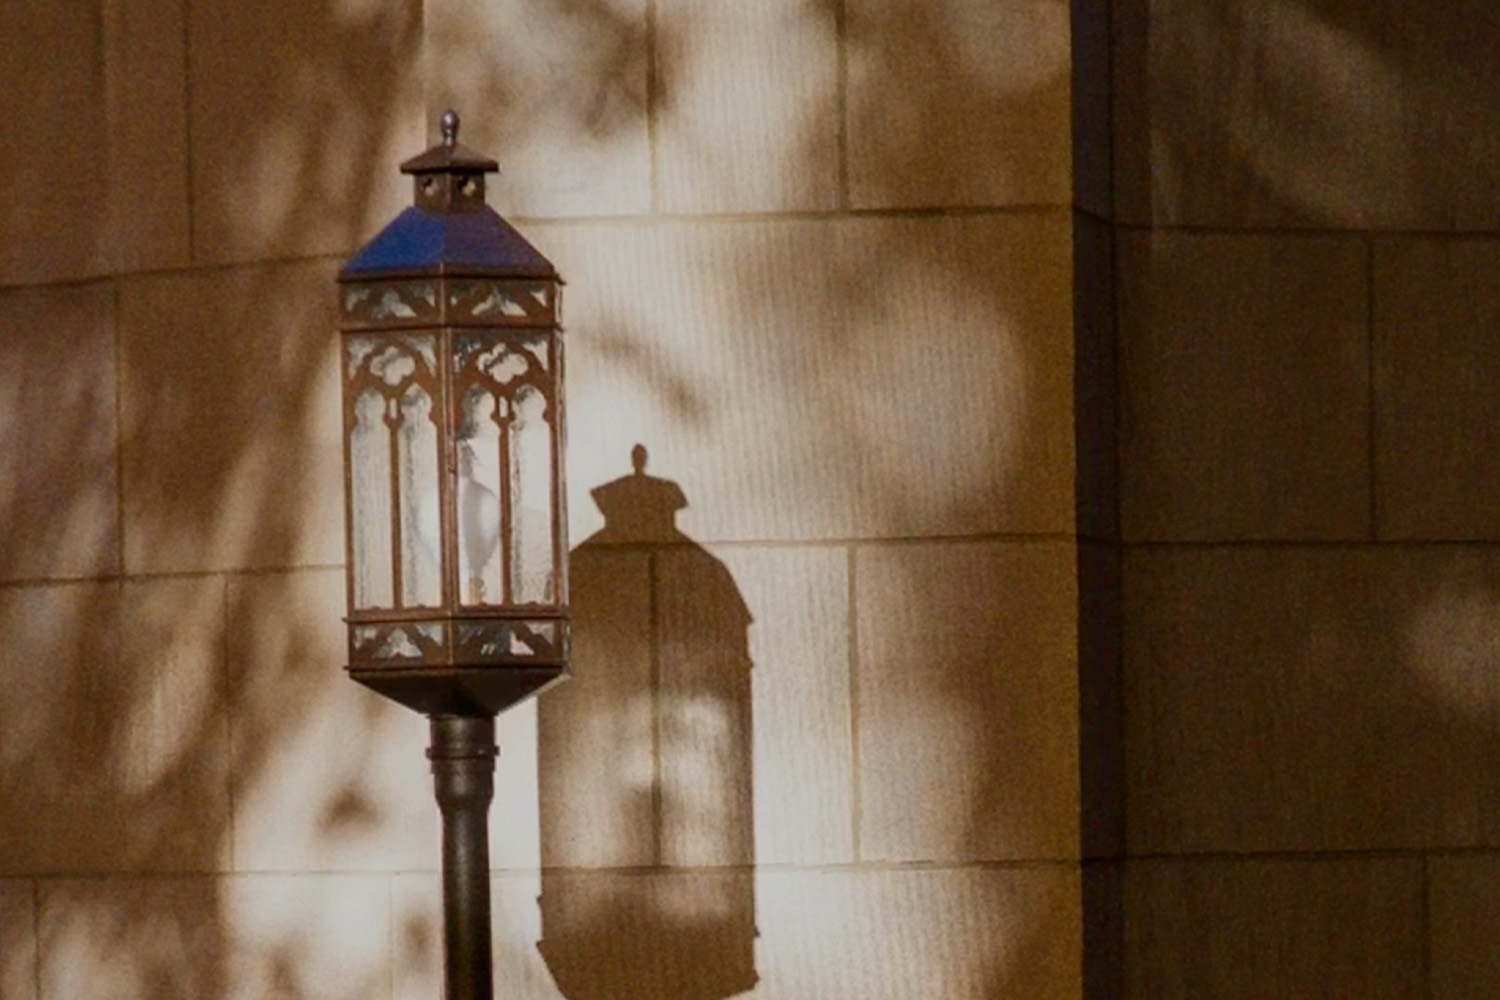
Add the layers based on the photo layout - you will likely want to paint the background on a separate layer. You may also like to paint other parts of the photo on separate layers to make it easier to re-edit if needed. As an example, after we import the photo of the ornamental lamp, we are going to create four separate layers: for the back walls, for the front wall, for the stone handrail, and for the lamp itself:
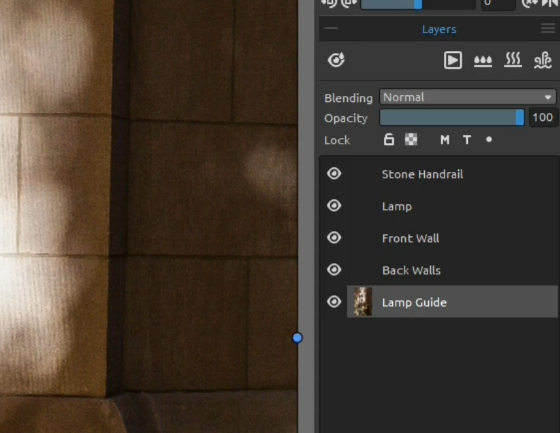
The imported photo will be your guide for tracing colors. To set the photo as the Tracing Layer, select the layer with the imported photo in the Layers panel and hit the "T" in the Layers menu. You can also do this via the top menu Layer > Tracing Layer or easily using the shortcut Alt + Shift + T.
TIP: You can set the bottom layer as the Tracing Layer, or create a copy of the layer and set a top layer as the Tracing one and hide it. The bottom layer may then serve you as a visible guide for painting after you lower its opacity.
After you designate your Tracing Layer, the rest of the existing layers will automatically become Influenced. It means they will pick the colors from the Tracing Layer when painting onto them. You can turn the "Influenced" attribute on/off anytime on the selected layer by hitting the "dot" in the Layers panel, or by going to the top menu Layer > Influenced Layer, or easily using the shortcut Alt + Shift + I.
All the new layers you add afterward will NOT become Influenced automatically. You will need to set them up manually.
The size of the brush is important too, as the brush is going to pick up colors mostly from its center. The sampling size is set in the Pick Color tool and can be 1x1, 3x3, or 5x5 pixels. Plan your brush size accordingly and make the brush fit what you are painting - you do not want to make broad strokes with a big brush as the colors may interfere with each other.
When you are finished with tracing, blend your strokes using the Blend tool to create a smooth transition between the strokes:
7. Add a "contrast" layer
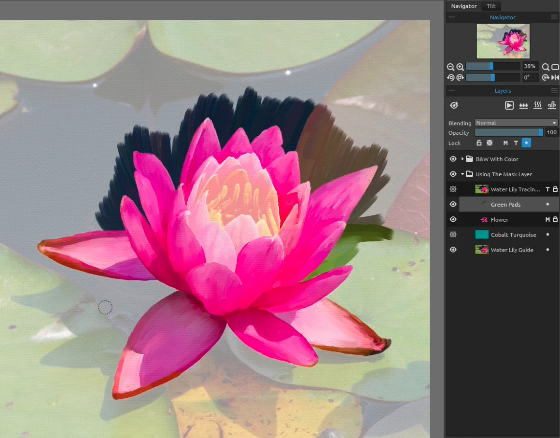
A great tip for painting while tracing colors from a photo is to add a separate layer filled with a contrasting color behind your Tracing Layer. This enables you to quickly detect the areas you've missed during painting. These are the parts with no paint at all, which you can repaint and re-blend. Here is an example of a water lily with a contrast cobalt turquoise layer:
Start with adding a new layer - click the " + " button at the bottom of the Layers panel. Then place the new layer below your Influenced layer(s). Go to the Tools panel, select the "bucket" icon of the Fill tool, go to the Color panel next, where you choose a contrast color to the colors of your layer so that the empty areas are easy to find. Click on the empty layer, which will be automatically filled with the selected contrast color. The empty areas will be now easily seen on the layer.
8. Use multiple Tracing Layers
It is possible to trace from more than one Tracing Layer during a painting session. You can import as many photos as you want as your guides, but remember, you can have only one tracing layer at a time. This is great for putting up your composition of the painting.
9. Use Masking Fluid Layer
You can always use Masking Fluid Layer along the Tracing Layer to mask out the already painted areas and make sure they stay intact. The important thing to keep in mind is that the Masking and Tracing Layers share the Influenced Layers, so you need to plan your moves accordingly.
Enable the Masking on your layer by hitting the "M" button in the Layers panel or from the top menu Layer > Masking Fluid Layer or easily using the shortcut Alt + Shift + M.
10. Share your work
We would love to see your work! Don't hesitate to upload your traced paintings to the online Gallery - you can upload directly from within Rebelle's menu Community > Publish or from your Community account after you log in.
If you would like to dive deeper into the tracing options, watch this fantastic tutorial by freehand artist Tom Gallovich. Starting from setting up Tracing and Influenced layers, Tom continues with advanced options and gives a tip about creating a visually contrasting cobalt turquoise layer. Further, in the video, he explains how to use masking when you trace a photo and how to take an advantage of more than one Tracing Layer:
Your Escape Motions Team
What do you think?
0 Responses
0
Upvote
0
Funny
0
Love
0
Surprised
0
Angry
0
Sad
Sign in to comment!
Be the first to comment.