

Just starting with Flame Painter? Look no further! Harvey Bunda, an accomplished art director and keen Flame Painter user has prepared a core skills series full of useful tutorials and tips. In the first installment, Harvey takes a look at how to navigate the program’s interface.
Flame Painter has been my go-to effects program from illustrating particles and – perhaps unsurprisingly – fire effects. Initially, the program was limited to simulating cool-looking flame effects, but over the years it’s evolved and version 4 introduces a raft of innovations, such as new Particle Systems, procedural brushes with limitless customization features, and expanded options for vector layers. All these features can be applied to a range of creative projects, such as poster pieces, character studies, and card game art.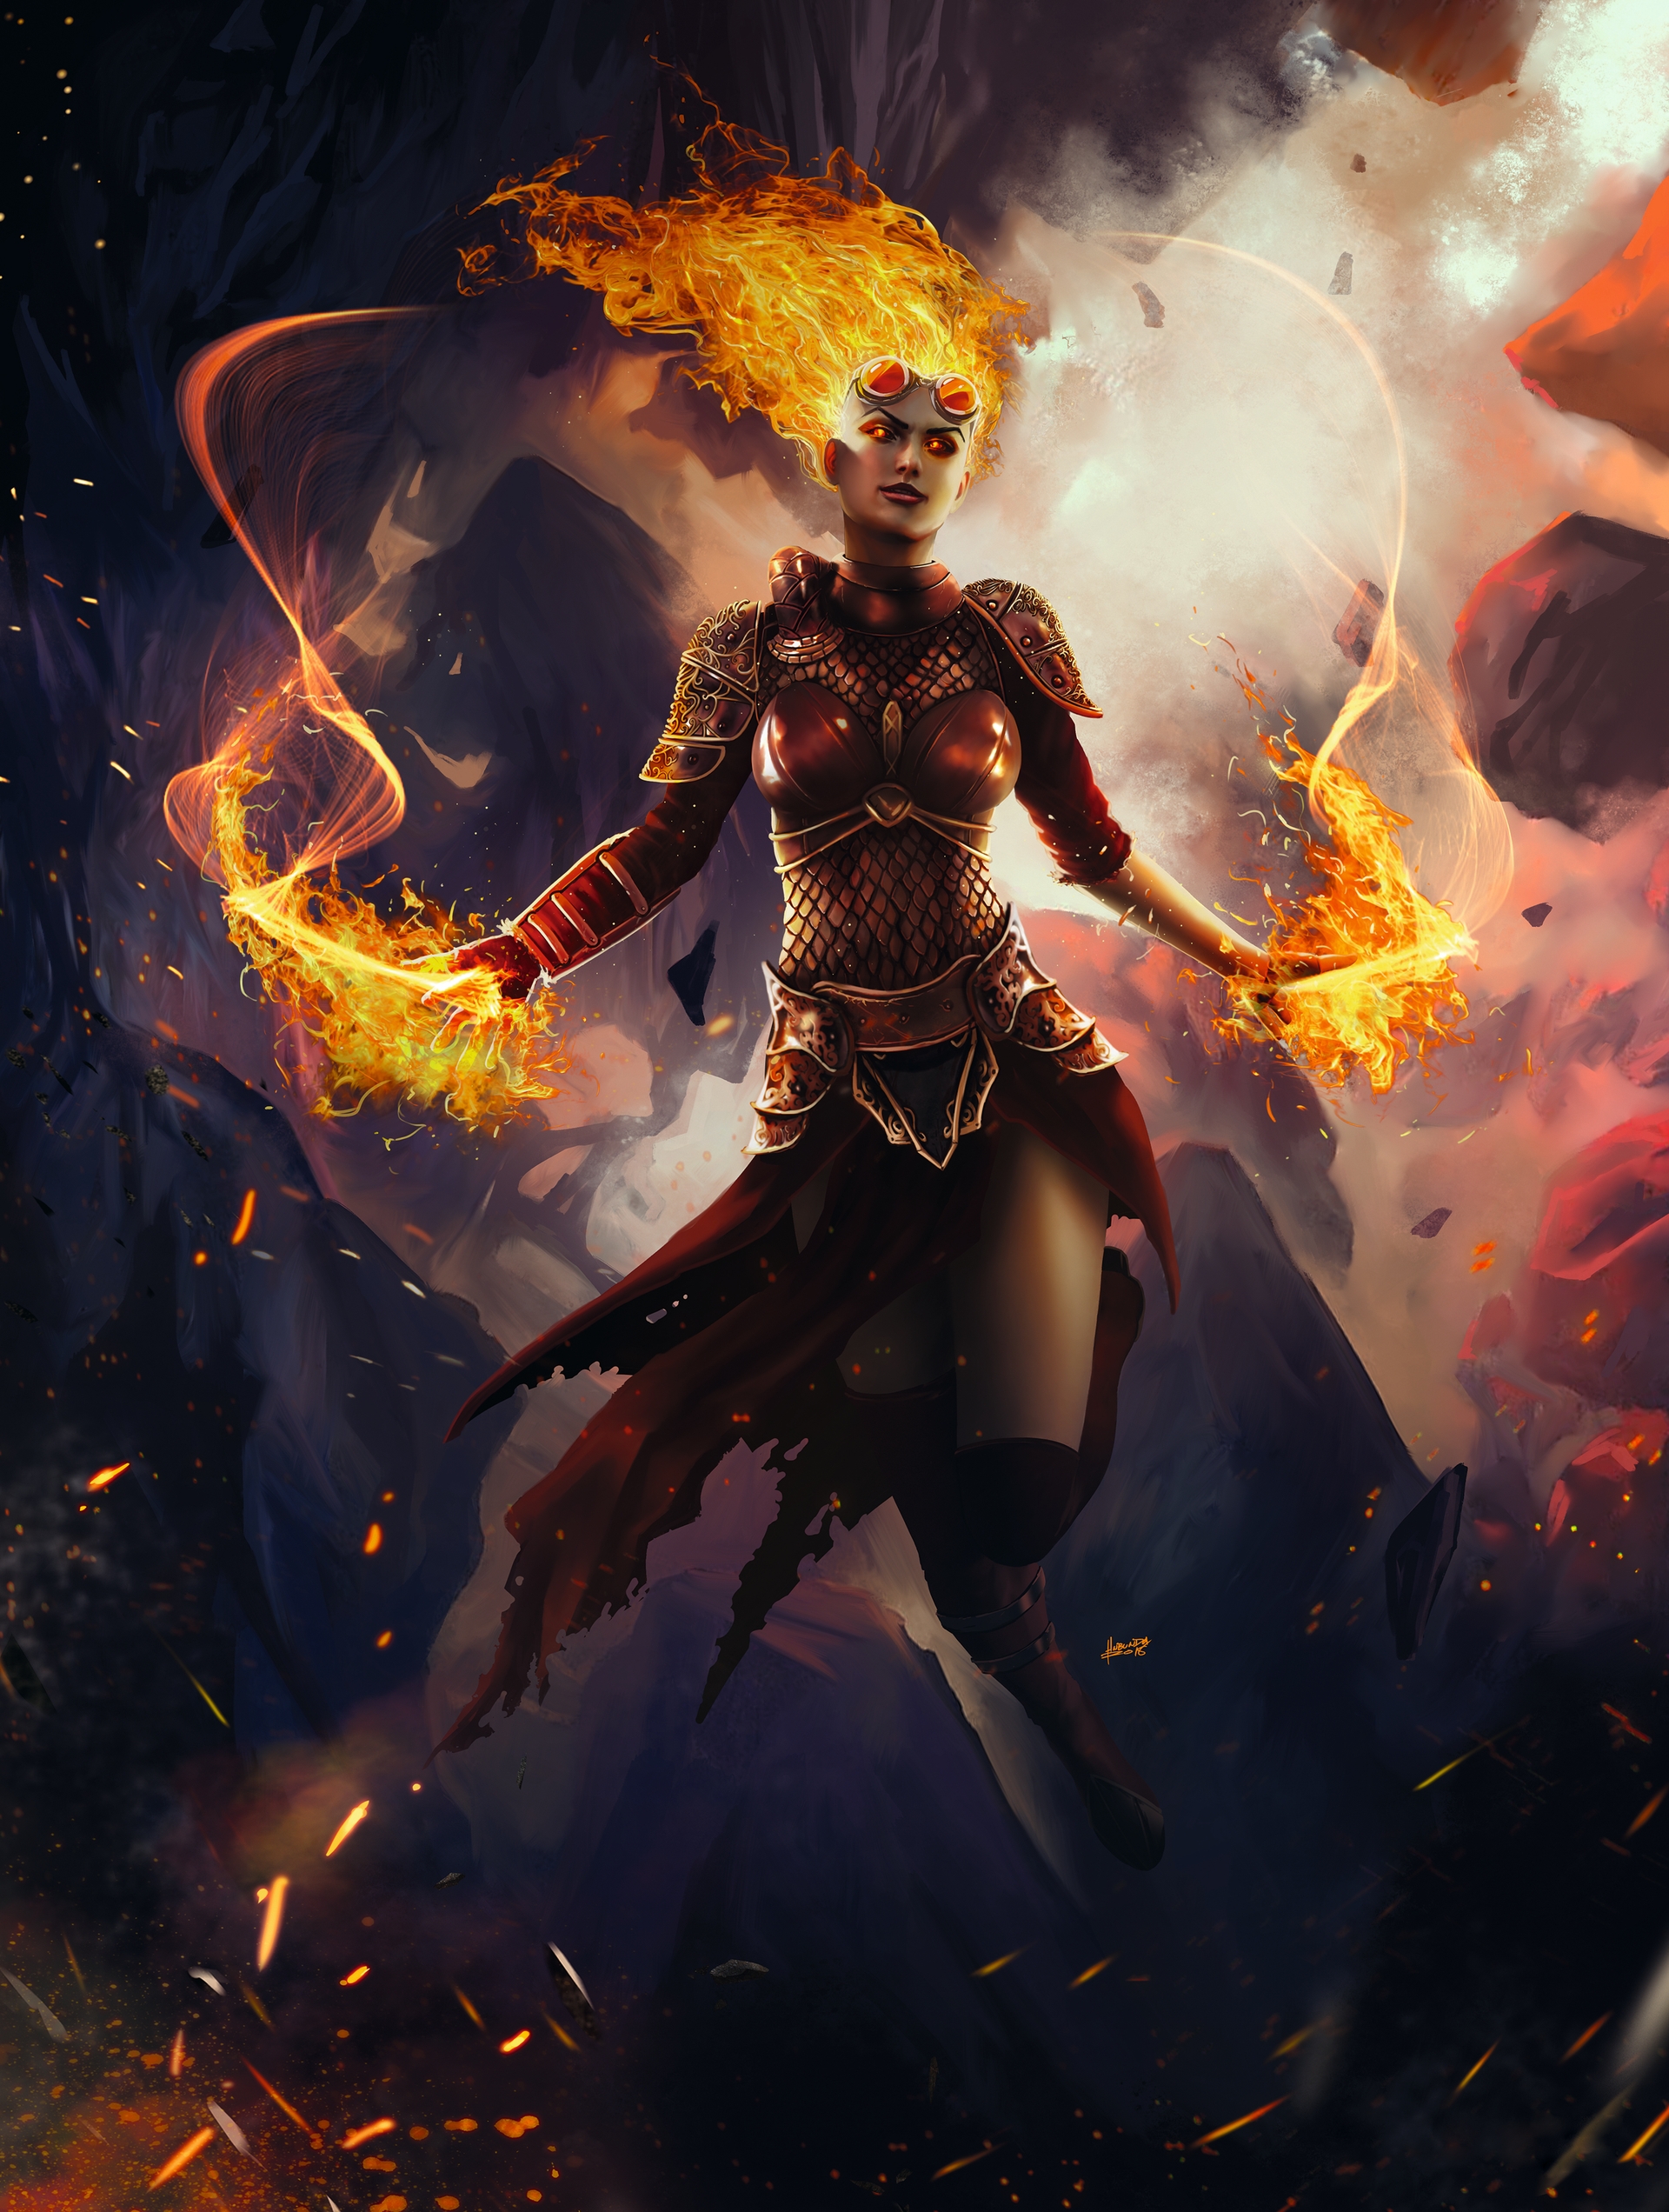
Thanks to its powerful effects engine, Flame Painter has been part of my creative toolbox for years and I’ve used it on every project I’ve been involved within the games industry. In this series I’ll be showing you how to get the most from the software, starting with an introduction to the interface and key tool panels.
Launching Flame Painter
When you open Flame Painter you will be greeted by the New Artwork window, where you will be able to set the size of your canvas and its resolution. You can also open an existing artwork - choose these from the left-hand side of the window.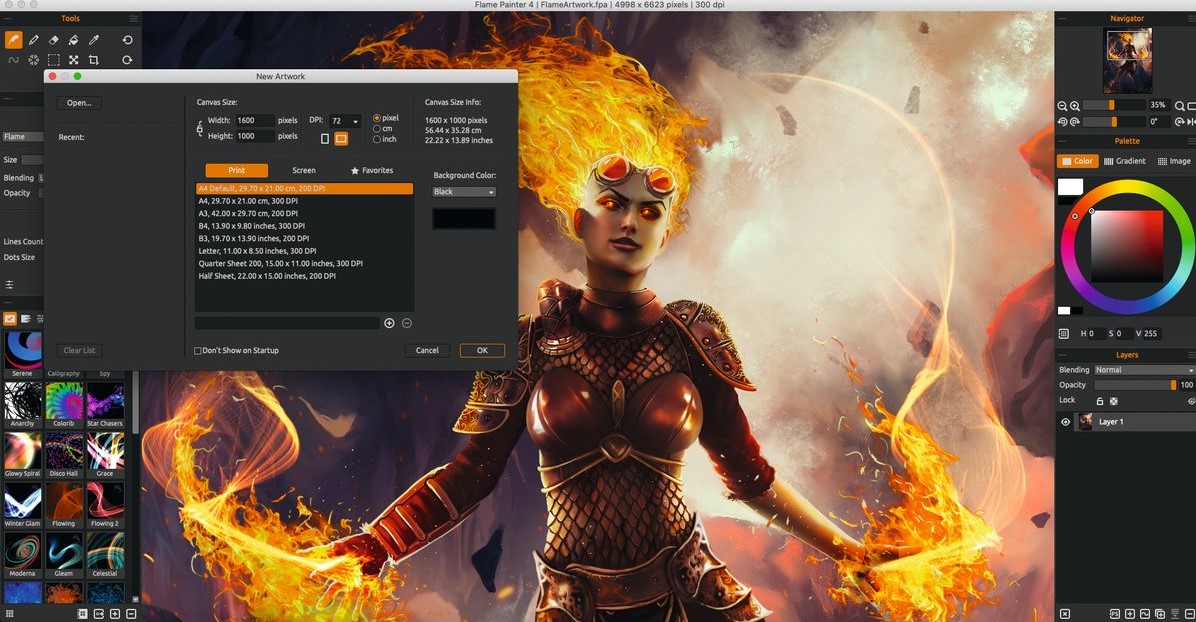
Tip: I usually use a size of 11 x 17 inches (vertical or landscape) at 300 dpi as it has the best resolution for both web and print, especially for posters.
The user interface
On the left-hand side is the Tools panel, where you can access all of the program’s tools. The Properties panel sits below this and enables you to edit the behavior of your brush, including its Size, Blending, and Opacity settings. 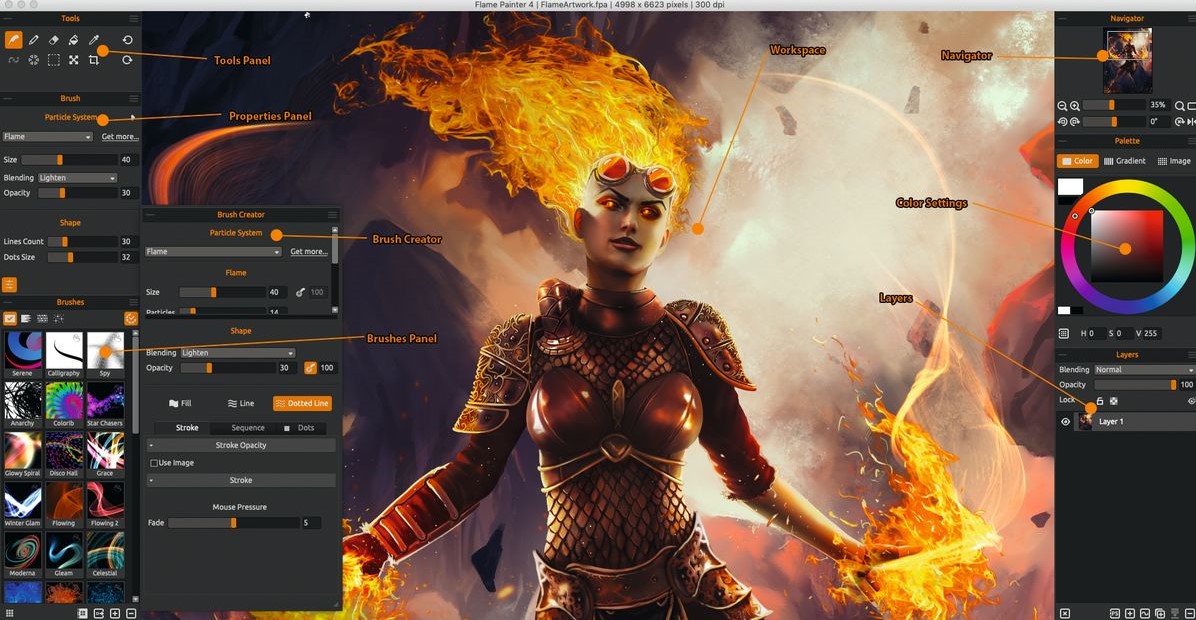
You can change the Particle settings in the Properties panel, and determine how your particles will behave on your canvas.
Configure the properties of your brushes in the Brush Creator panel
Here you can edit the properties of your selected brush and at the same time set how the particles will behave. You can also save your brush settings via the right-hand corner of the Brush Creator panel window, or reset the settings to their defaults.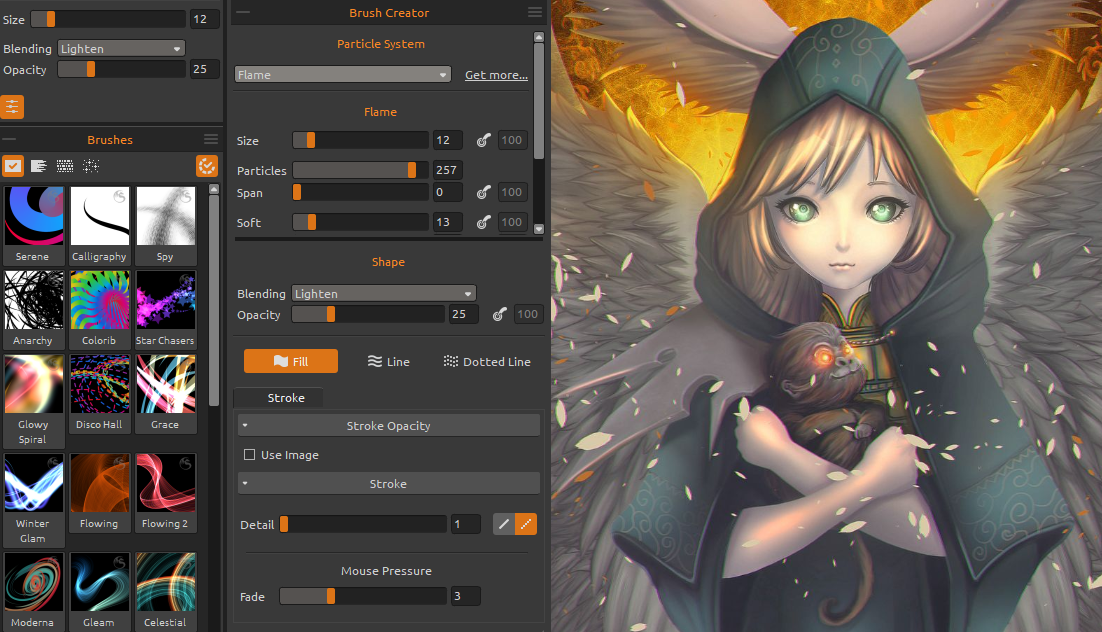
The Color panel and the Layers panel
You can access the Color panel and adjust the hue, saturation, and value settings of a selected color. On the Layers panel you can access the various blending options that can be used to adjust how the effects appear on the canvas.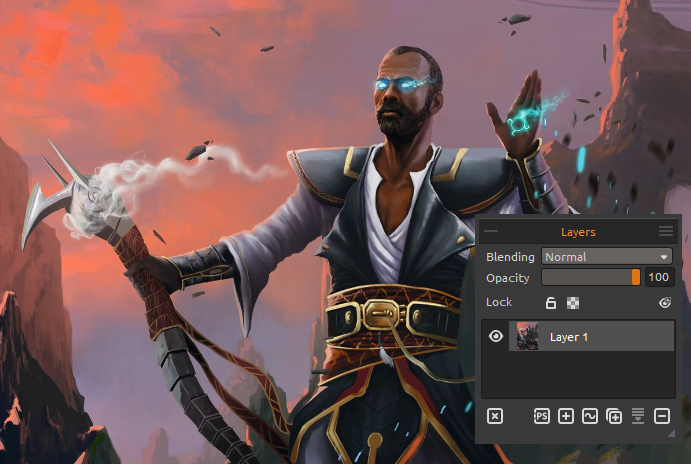
Saving your painting for working in other art programs
When saving your file you can choose from the usual standard image file formats, including PSD and TIF – ideal for exporting into other painting programs. At the same time, Flame Painter also has its own file format – FPA – enabling you to natively save your art.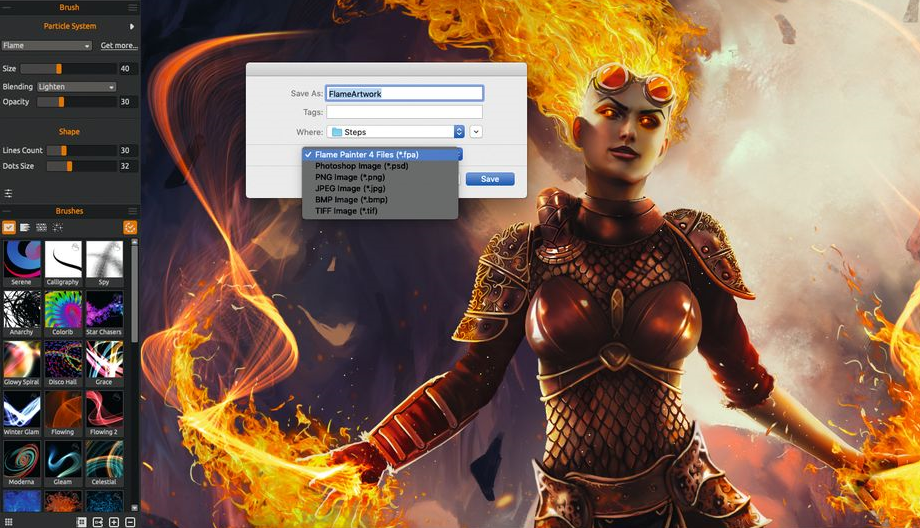
In the next installment, I will show you how to use the Flame Painter's tools including Symmetry, and its Photoshop plugin.
Stay tuned!
Harvey Bunda
Originally published in ImagineFX #182. Permission to republish granted by Harvey Bunda and ImagineFX editorial team.
---
Artist's profile:
Harvey Bunda is an art director and an avid mentor to developing creative teams. He is the artist behind several game titles from mobile, tabletop, and triple-A titles. Furthermore, he has produced artworks for book covers, concept art for games, and toy designs for Marvel Heroclix, Mattel, Wizards Of The Coast, Lucasfilm. Harvey is well versed in working on paintings, traditional mediums, and sculptures as well.
Visit his portfolio: https://www.escapemotions.com/featured-artists/harvey-bunda
Harvey's website: https://www.harveybunda.com/
What do you think?
0 Responses
0
Upvote
0
Funny
0
Love
0
Surprised
0
Angry
0
Sad
Sign in to comment!
Be the first to comment.