
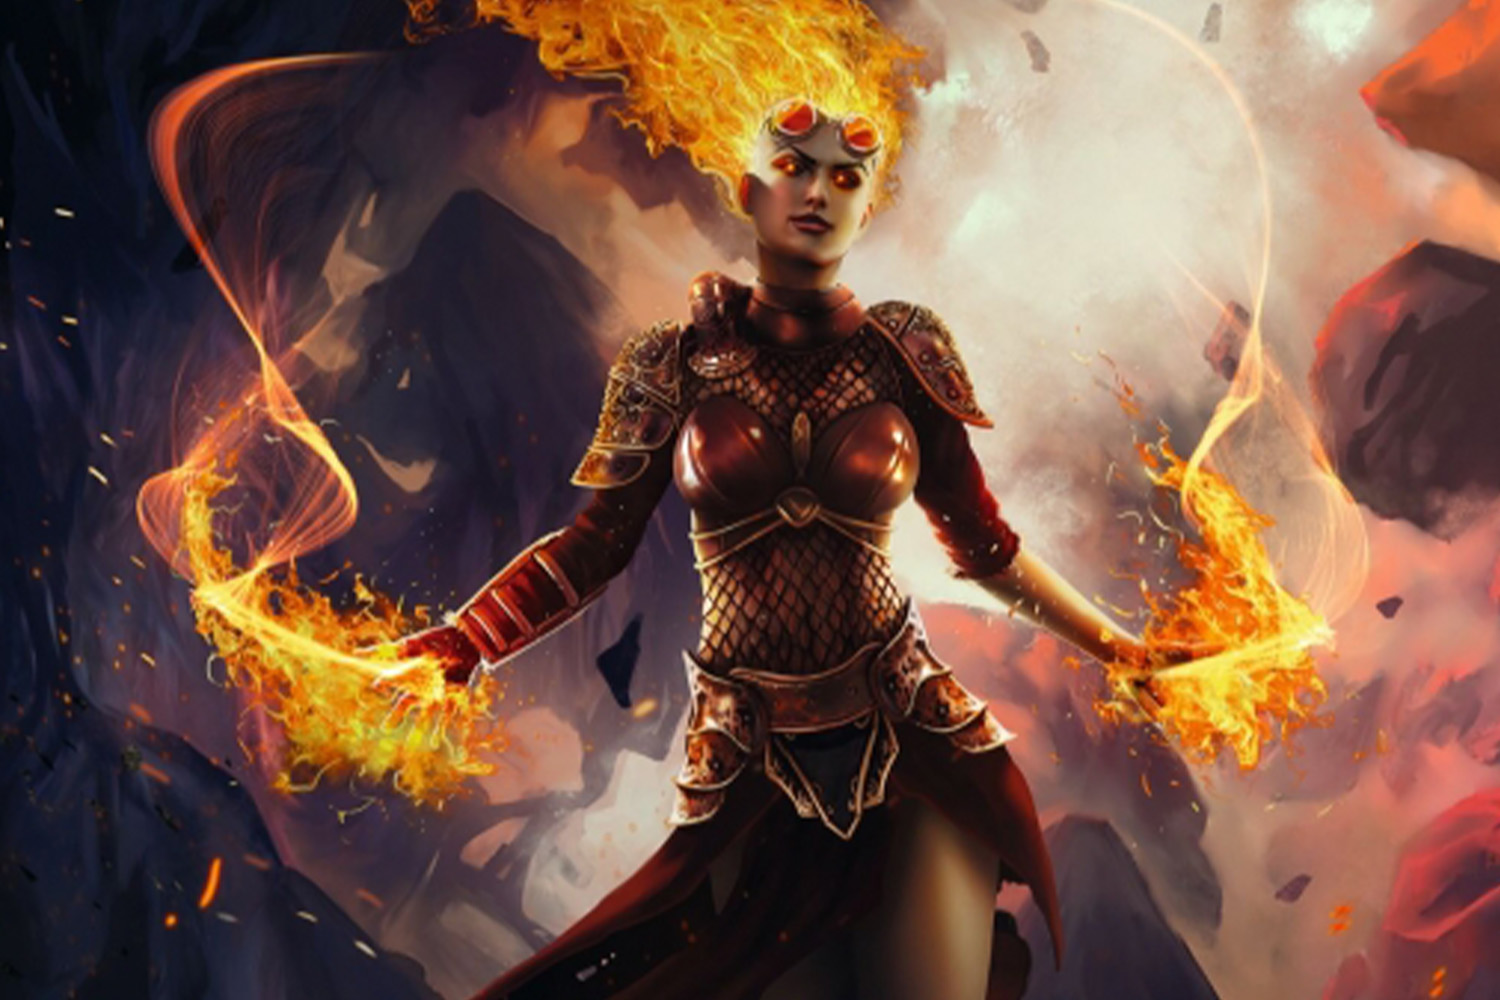

Did you enjoy the first part of the Flame Painter Core Skills series? In this second installment, Harvey Bunda, an accomplished art director and keen Flame Painter user shows how to use the program’s tools including Symmetry and its Photoshop plugin.
As well as helping to make your artwork pop with its extensive range of particle effects, the latest version of Flame Painter has several new features that will enable you to streamline your creative process and save time. Version 4 comes with a range of features that include the advanced Brush Creator, the Symmetry tool, a Photoshop plug-in, and complete support for multi-touch gestures when using a pen display, such as one from Wacom’s Cintiq line-up. Furthermore, artists can take advantage of the new Navigator panel, a range of new Filters, Selections and Canvas Size tools, and an Advanced Palette panel.
These additional features have been thoughtfully incorporated into the Flame Painter interface, which means navigating the program remains an intuitive process. In the same vein, switching between Flame Painter and Photoshop becomes a seamless operation.
I’ll be giving a brief overview of all these additions in this installment. I will also be looking at the Symmetry Tool in a bit more detail. Once you get a hang of this tool, you will be able to create a range of dazzling effects for your character and environment compositions. I will also showcase how it’s possible to customize some of the new tools using the Properties panel.
Investigate the packed Tools panel
The Tools panel lies at the heart of Flame Painter. Open it to access the Brush, Pen, Eraser, Fill, Pick Color, Edit Vector Layer, and Symmetry tools. You can also act the Canvas size here, and choose the Selection, Transform, and Undo/Redo tools.
You’ll spend most of your time in Flame Painter using the Brush tool. Here, I’ve used it to create the purple flame effect.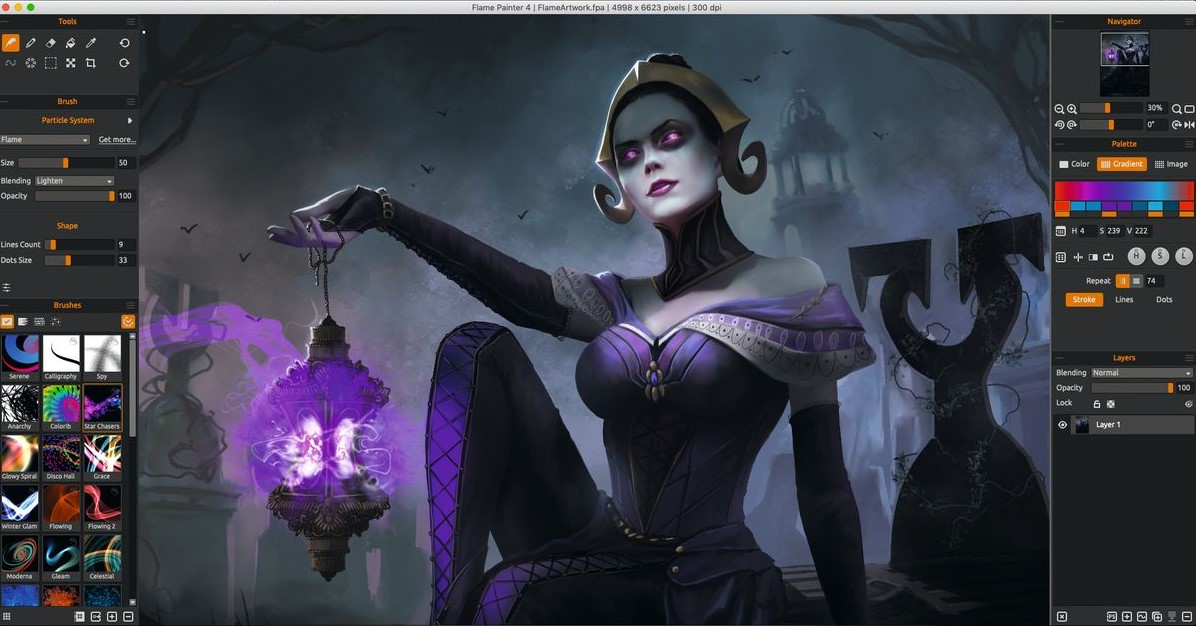
Painting with the Symmetry tool
The symmetry tool makes it possible for you to paint symmetrically with the Brush tool. You can toggle the Symmetry tool on and off on its Properties panel, and set the number of Rotational Symmetry Lines from zero to eight. You can also toggle the Mirroring effect on or off.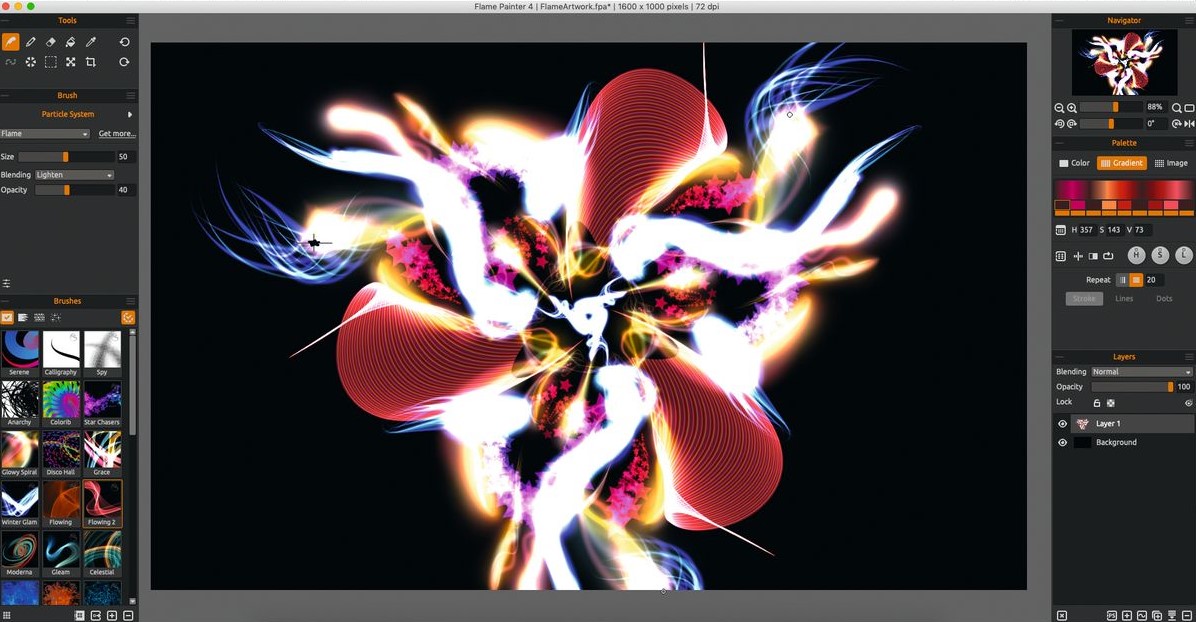 Tip: If you are using a Rotational Symmetry Lines greater than three for your symmetry, try to limit where you paint because it can easily end up looking like a nebulous white effect.
Relocating and transforming your effects
Sometimes it is hard to paint your particle effects exactly where they need to be. In these instances, I usually use the Move and Transform tool to place my effects in the right location on the canvas. You can also use this tool to rotate and transform your particle effects.
Tip: You can use your mouse, pen tablet or even your fingers to transform your particle effects. Use two fingers to simultaneously move, rotate and scale the layer or selected layers.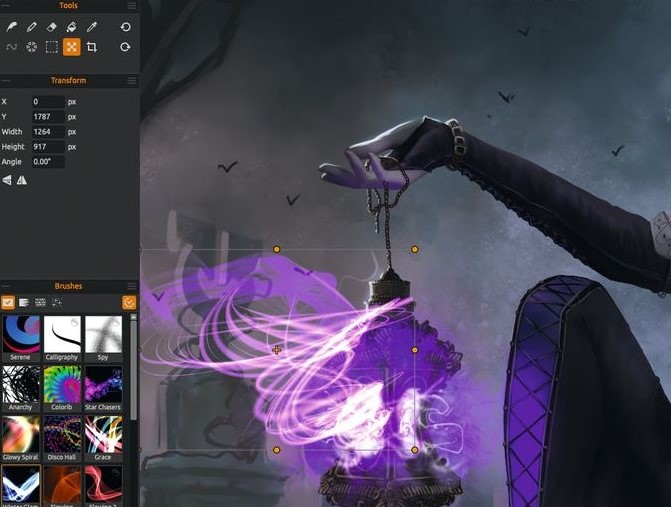 You can turn off the ability to use two fingers for canvas rotation in Preferences > Tablet > Tablet options. Note that you will still be able to move or scale using two fingers.
Getting to grips with the Brush Particle System
The brush particle system lies at the core of Flame Painter, and enables you to adjust all of the settings of your chosen brush, including its overall size to dots size. It also has its own blending options: you can access Normal, Lighten, and Darken modes from this panel.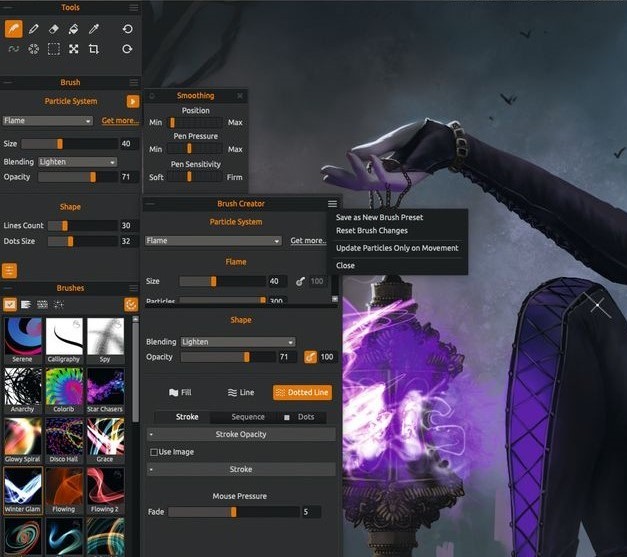
Tip: Create your own brushes by changing and customizing your selected brush settings, then saving it. Choose “Save as new brush preset” on the upper right tab on the Brush Creator panel.
You can click the Get More... link within the Brush Creator Particle System panel to access the online store, enabling you to purchase unique brushes.
Launch Flame Painter Connect to work with Photoshop
Flame Painter Connect is a plug-in for Photoshop. It is a communication channel between Photoshop CC and Flame Painter 4 for transferring layers between two programs. Download and install Flame Painter Connect from the registration email you receive once you have bought Flame Painter, or by accessing your Community account.
Launch both Photoshop and Flame Painter 4. Next, create a new document in Photoshop.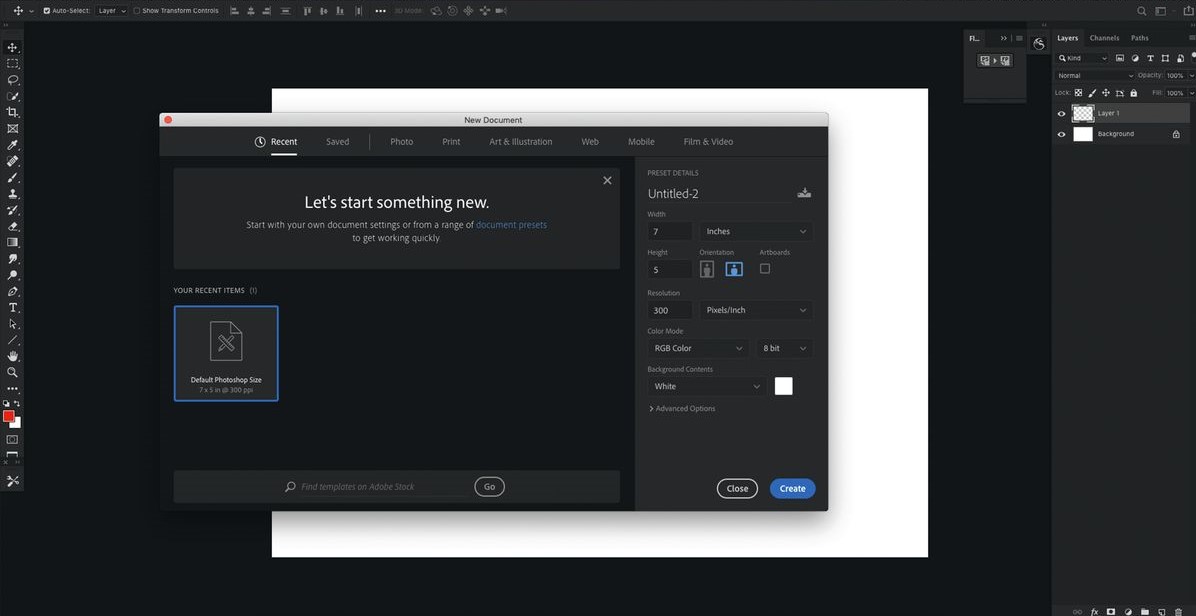
Still in Photoshop, click Window > Extensions > Flame Painter Connect. A Flame Painter Connect panel on the right side of the screen will appear.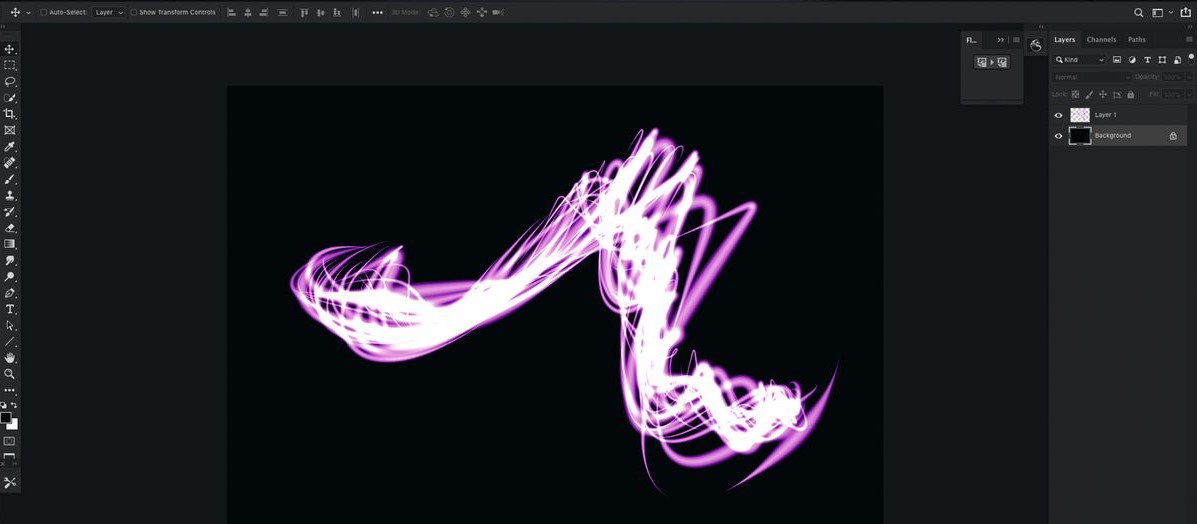 Click the PS icon that’s under the Layer panel to quickly switch your canvas between Flame Painter and Photoshop.
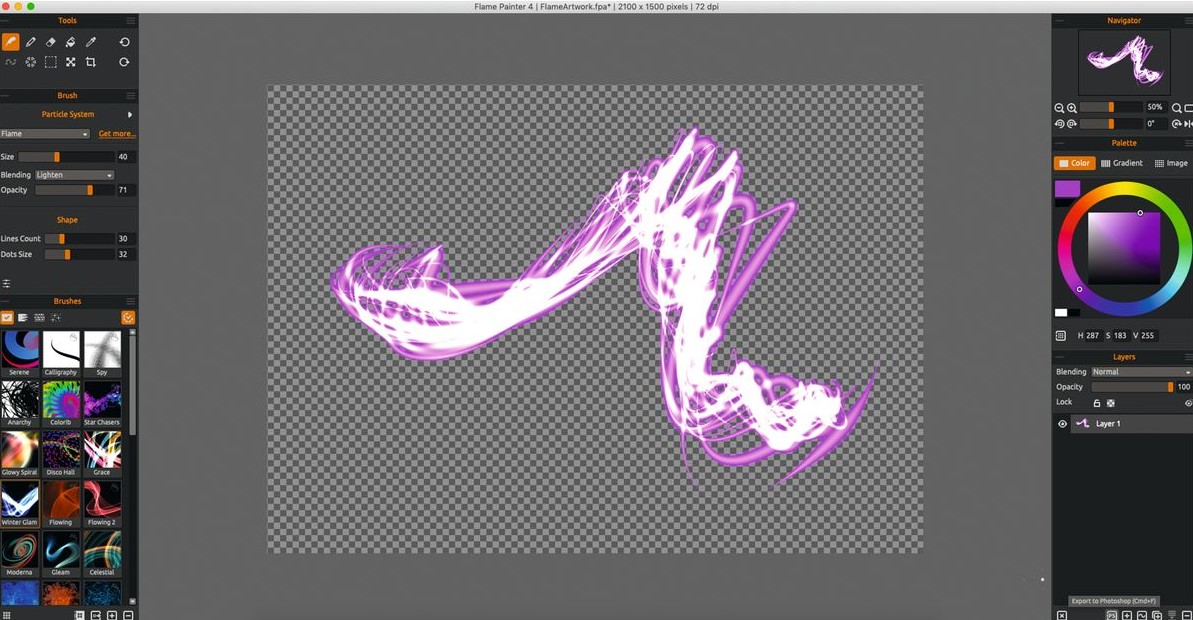
I hope these tips were helpful. In the next installment we will take a deeper look at Flame Painter's Particle systems and its settings.
Stay tuned!
Harvey Bunda
Originally published in ImagineFX #183. Permission to republish granted by Harvey Bunda and ImagineFX editorial team.
---
Artist's profile:
Harvey Bunda is an art director and an avid mentor to developing creative teams. He is the artist behind several game titles from mobile, tabletop, and triple-A titles. Furthermore, he has produced artworks for book covers, concept art for games, and toy designs for Marvel Heroclix, Mattel, Wizards Of The Coast, Lucasfilm. Harvey is well versed in working on paintings, traditional mediums, and sculptures as well.
Visit his portfolio: https://www.escapemotions.com/featured-artists/harvey-bunda
Harvey's website: https://www.harveybunda.com/
What do you think?
0 Responses
0
Upvote
0
Funny
0
Love
0
Surprised
0
Angry
0
Sad
Sign in to comment!
Be the first to comment.