

In the previous installment, Harvey Bunda covered the various particle brushes available in Flame Painter. This installment will take you through the stages of spicing up your artwork using a handful of these versatile brushes. He will be explaining how you can properly execute an effect and blending options, which you can use on elements in your fantasy and sci-fi compositions, to make them pop.
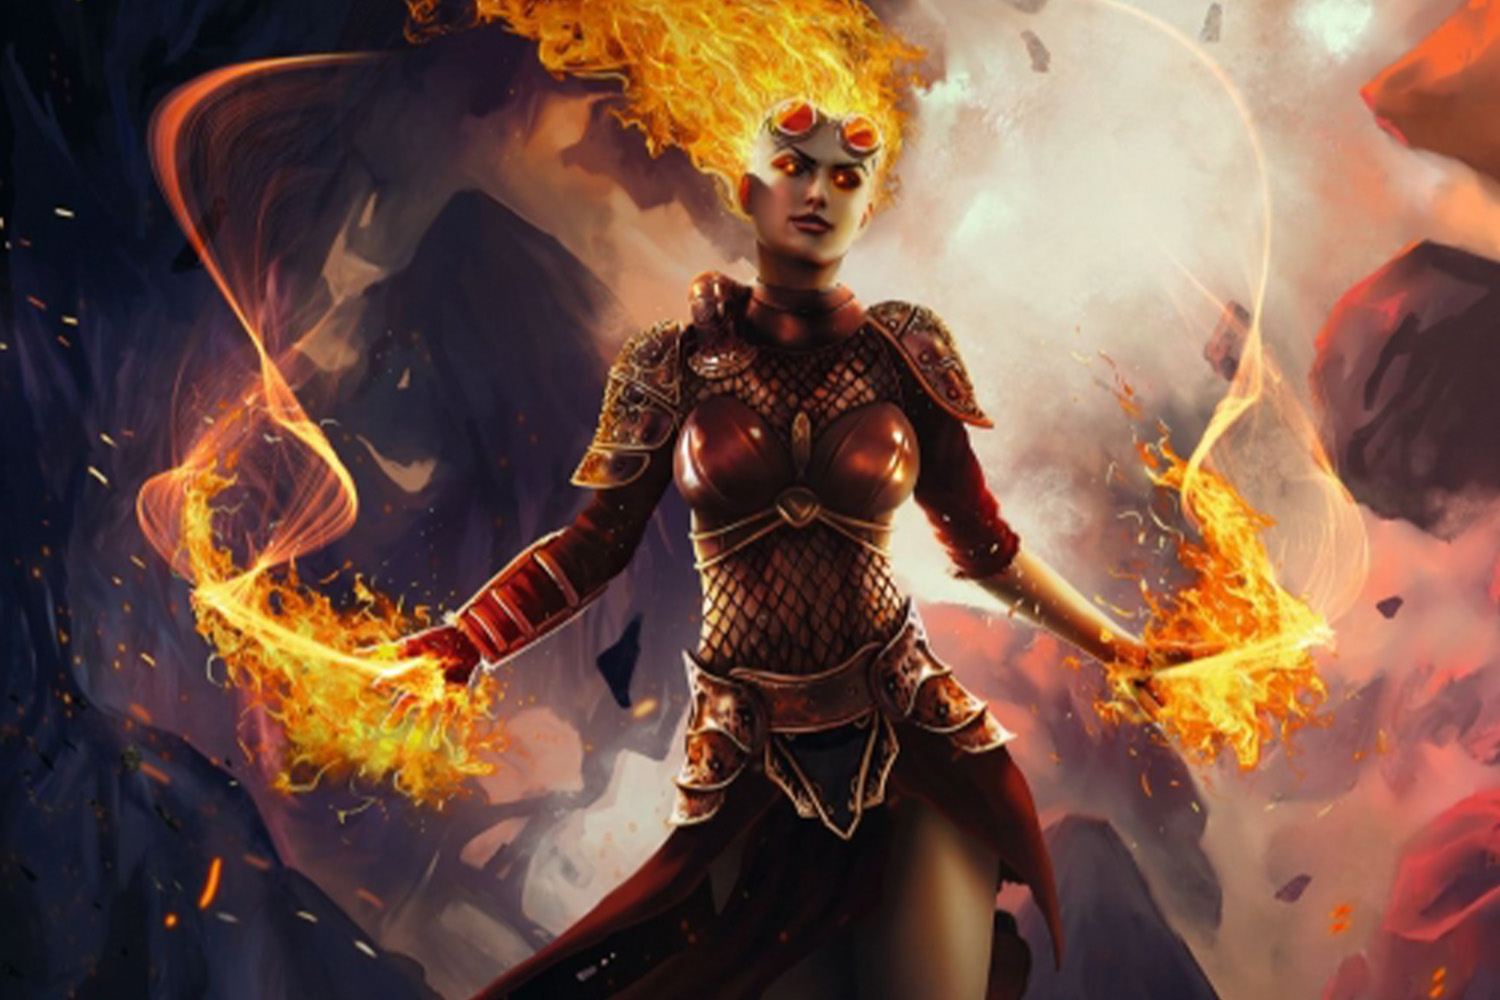
Flame Painter is a standalone paint and particle effects package that makes it possible for you to create original artworks, light effects, or unconventional designs. I see it as a great source of inspiration for artists because it broadens the possibilities of digital painting and enhances design with captivating, life-like organic brushes. With only a few clicks you can generate a cloudy sky, campfire, forest, snow, rain, various plants, and much more. There’s also a variety of lighting and optical effects that you can take advantage of, enabling you to change the atmosphere of your artworks.
In part two of this series I touched on how you can use Flame Painter with Photoshop CC. I will be going into more detail on this feature here, explaining how the Flame Painter Connect plug-in enables you to transfer layered artwork between the two programs, so you can make use of all those wonderful particle effects.
Decide on the location of the particle effects
Choosing where you want the effects to appear is a crucial part of the creative process. The last thing you want to do is to smother your work with visually complex effects. You could end up distracting from the image’s focal point and confusing the viewer.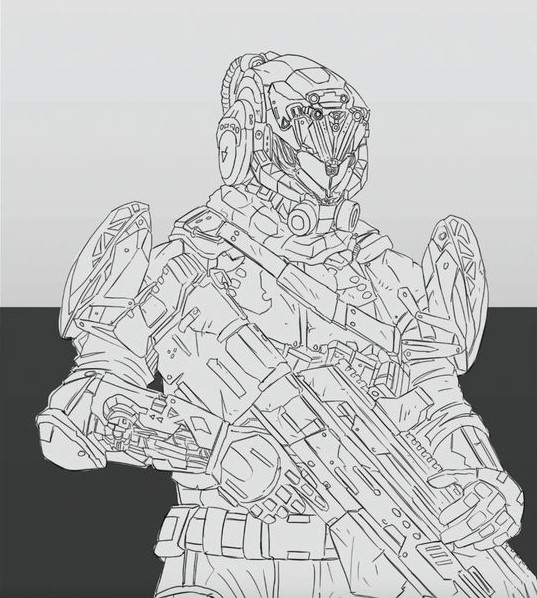
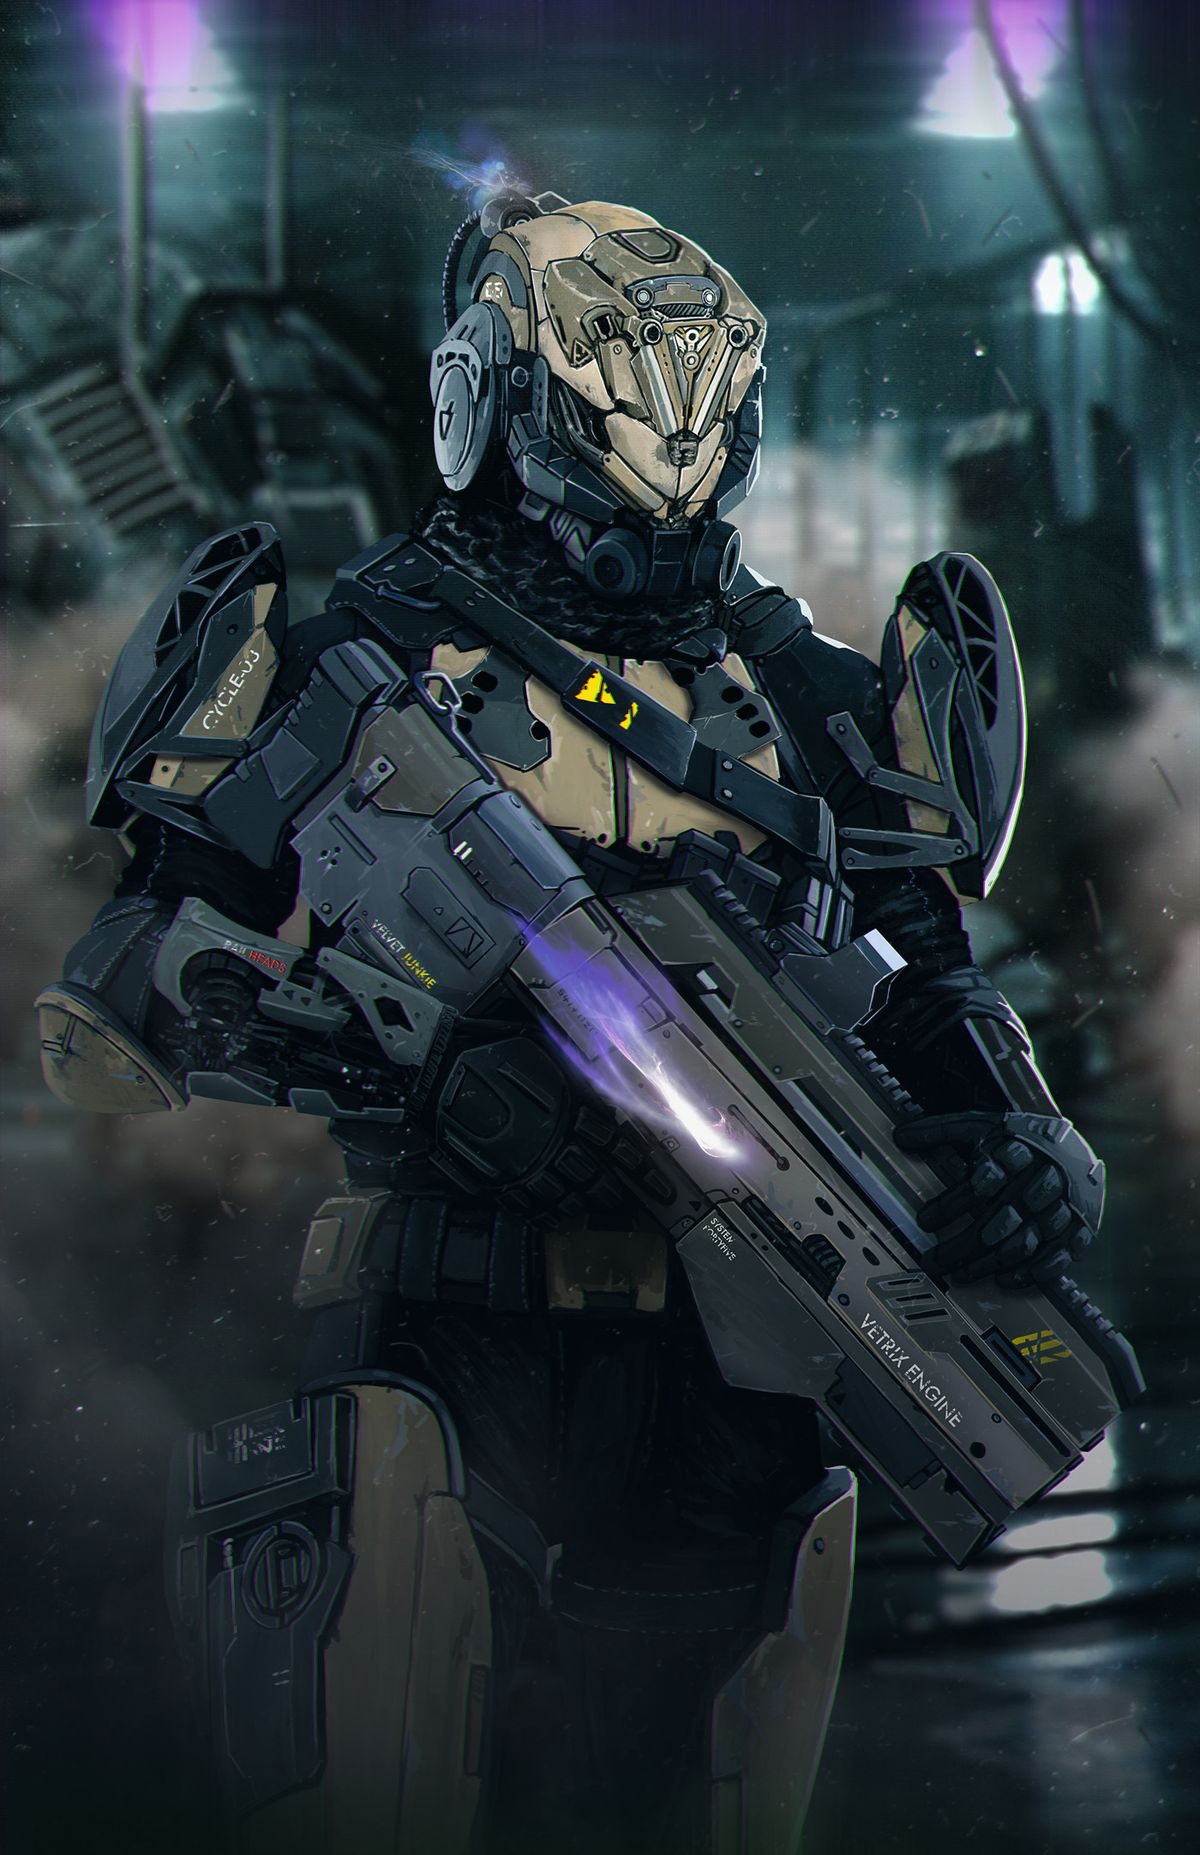
I will be applying particle effects on the helmet and this sci-fi character, and on the barrel of the gun.
Transferring your work from Photoshop to Flame Painter
The supplementary Photoshop plug-in Flame Painter Connect enables you to transfer your art from Photoshop to Flame Painter, and vice versa. You can also open the file directly in Flame Painter if you’re not working in Photoshop because it’s compatible with a range of file formats.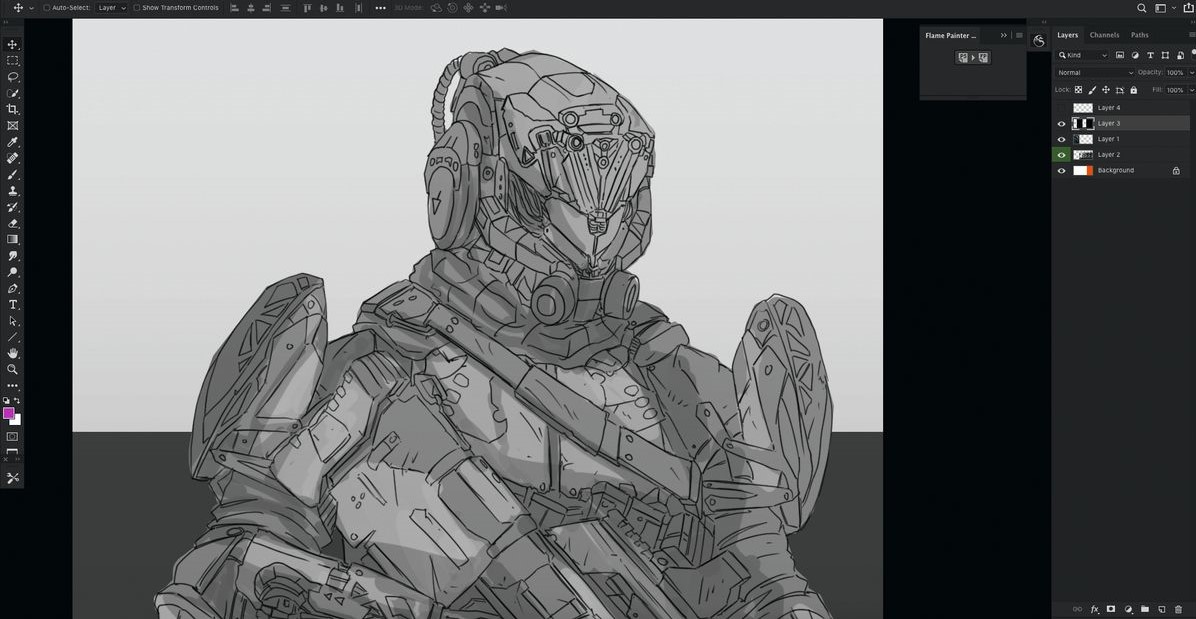 Selecting Import from the Flame Painter plug-in window will seamlessly bring your work from Photoshop CC into Flame Painter.
Painting with effects in Flame Painter
During this stage, I’m using the Flame Particle system and Sirius brush on layer two as my base effect and on layer one, I’m using the Fuzzy Particle system and Fractown 2 as my secondary effect. I like to combine various effects to create funky-looking particles.
You can use any brush size on your composition and you can use any combination of effects. Just remember to place them on separate layers.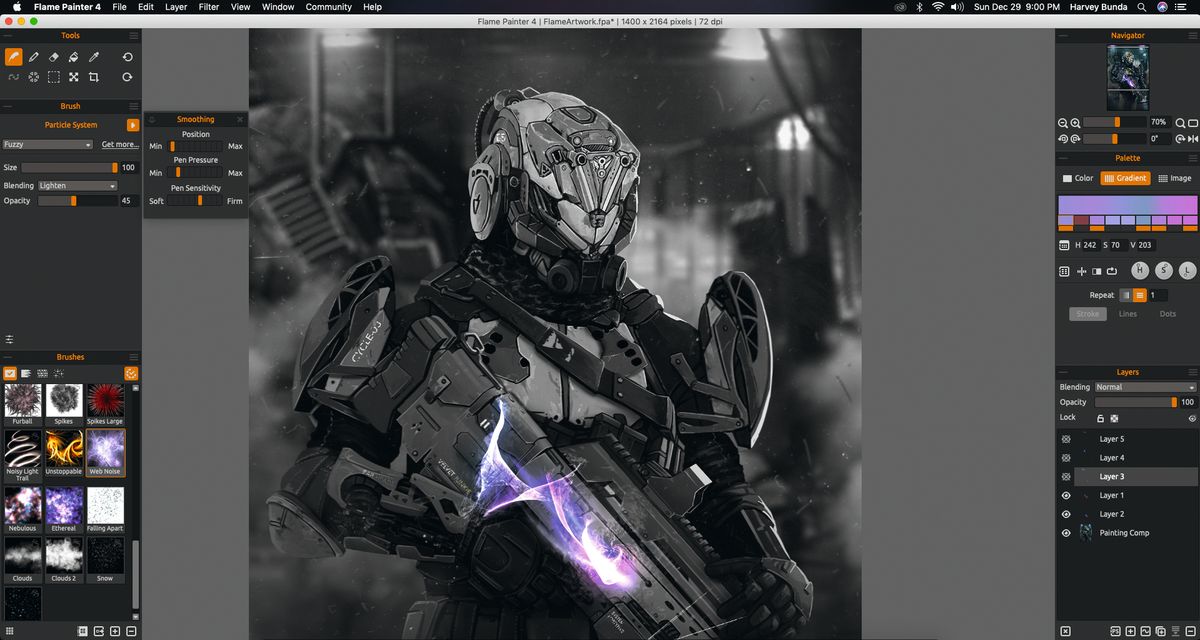
Adding more effects to the composition
I apply another particle effect, this time using the Web Noise effect on layer three, while on layer four I use the Follow Particle system with the Glisten effect. Then on top, I apply the original Flame brush effect, before editing the results and erasing unwanted parts of the stroke.
Here you can see I have a rough draft of the effects that I have in mind and I will be taking the work back into Photoshop for further edits. Don’t forget to save your progress.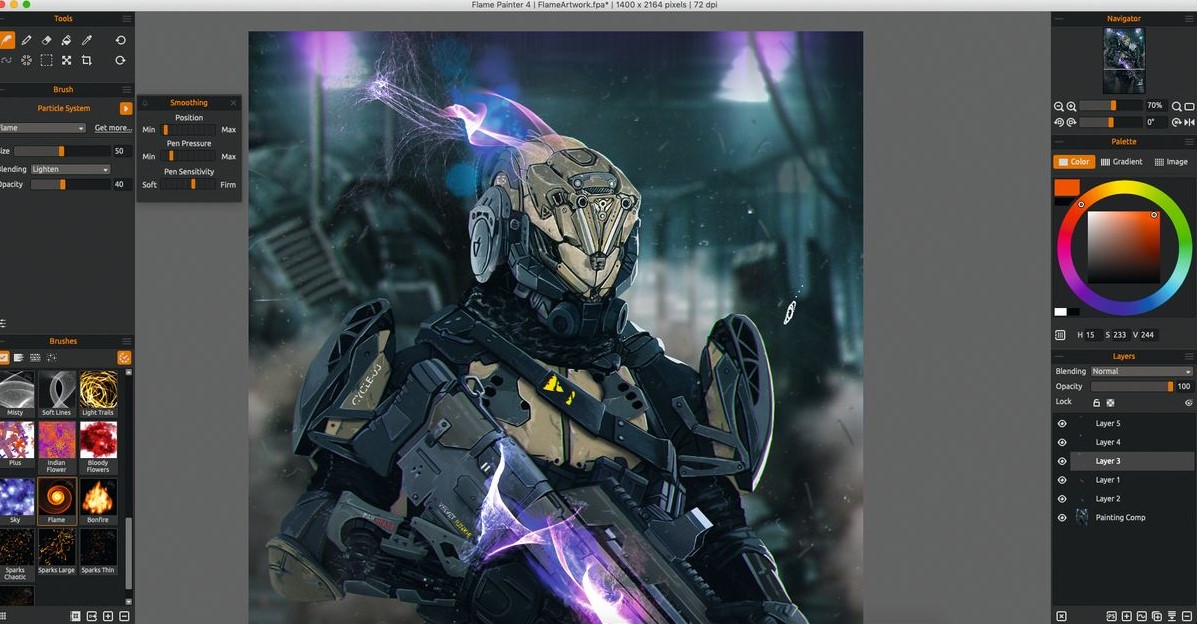 Tip: When going back into Photoshop, you can either click the PS button under the lower panel of the Layers window or save your artwork as a PSD file and open it in the painting program of your choice. You can also export individual layers to Photoshop by pressing the PS button.
Finishing the painting in Photoshop
At this stage I work in Photoshop, blending all the effects into one cohesive particle using the Transform Warp tool. I put the layers on Light or Screen mode (this will depend on your composition’s lighting). I also separate the effects into standalone layer folders.
On the topmost layer I select Layer > Layer Adjustment > Color Lookup. In the Color Lookup panel, I choose what’s best for the composition – here I have used Drop Blues.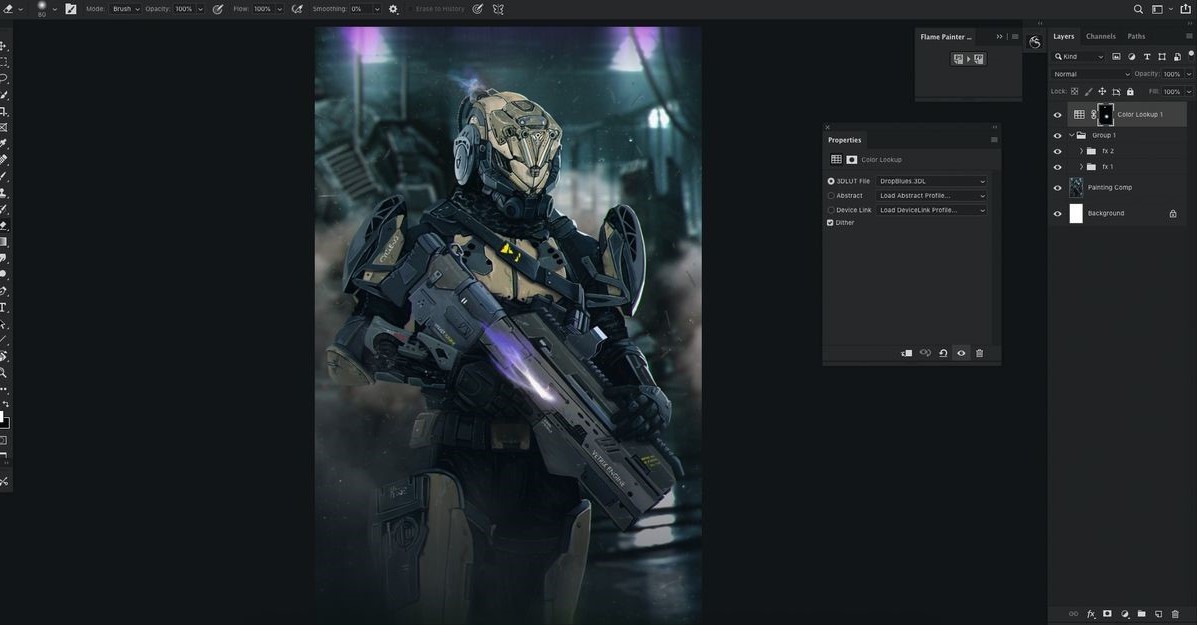
Here you can see that I have subtly used the effect. It complements the composition and doesn’t overpower the character’s helmet and gun.
I hope you have enjoyed this short series of tips and tutorials on how to use Flame Painter 4 to the fullest. Do not be afraid to experiment with different brushes and particle systems. They will make your artwork truly stand out.
Stay creative!
Harvey Bunda
Originally published in ImagineFX #185. Permission to republish granted by Harvey Bunda and ImagineFX editorial team.
---
Artist's profile:
Harvey Bunda is an art director and an avid mentor to developing creative teams. He is the artist behind several game titles from mobile, tabletop, and triple-A titles. Furthermore, he has produced artworks for book covers, concept art for games, and toy designs for Marvel Heroclix, Mattel, Wizards Of The Coast, Lucasfilm. Harvey is well versed in working on paintings, traditional mediums, and sculptures as well.
Visit his portfolio: https://www.escapemotions.com/featured-artists/harvey-bunda
Harvey's website: https://www.harveybunda.com/
What do you think?
0 Responses
0
Upvote
0
Funny
0
Love
0
Surprised
0
Angry
0
Sad
Sign in to comment!
Be the first to comment.