


Are you looking for some tips on how to choose the perfect colors for your next painting? Rebelle Featured Artist Dame Deviant takes us through a process of selecting a group of reference images to create the desired color palette to use for her next oil and acrylic portrait. Try the approach and get the most out of Rebelle 5.
My name is Dame and I’m going to take you through one of my favorite ways of using Rebelle software. I’m a mum of two so sitting down at an easel to paint is not often possible, so I’m grateful there are traditional-looking digital media that can help me make the kind of portraits I like to do.
Step 1: Choose attractive color palette
One of my biggest struggles is making attractive color choices. Before I start a piece, I usually start by looking up copyright-free images (mostly from Pexels.com) with bold and bright colors.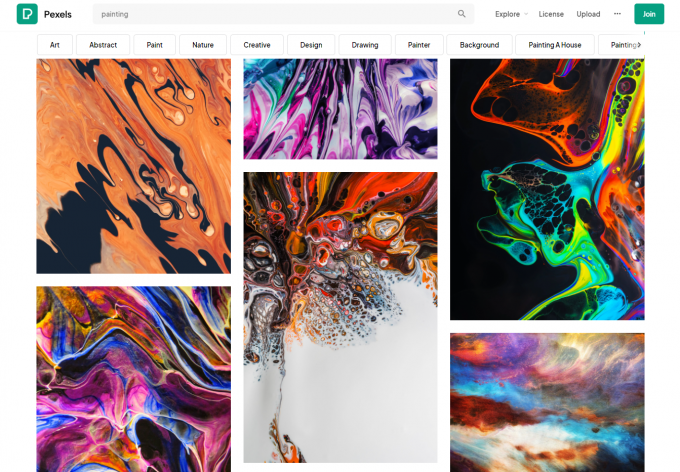 Find your next reference image on Pexels.com
Step 2: Brighten up your reference image
Once I’ve found a reference photo I like, I can overlay a colorful painting above the photo in Rebelle itself. This transforms my original reference, taking it from photographic to something with interesting colors, lights, and darks. You can see how this has changed my reference photo in the video tutorial.
I really enjoy this process of tweaking the colors and adding some liveliness to the reference before I even start painting. I also like to use a color palette tester to check the palette before committing to it. Once I’ve settled on photo editing, I can begin the fun part! Drawing!
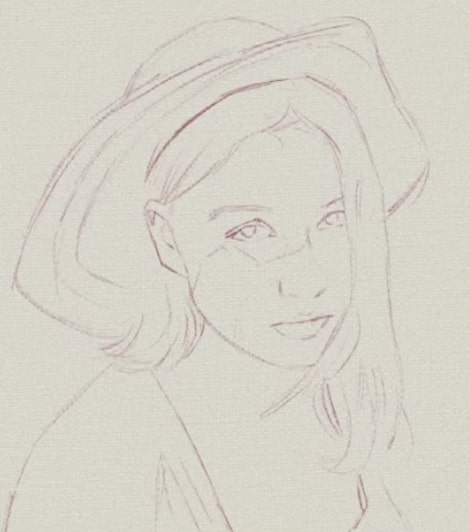
Step 3: Sketch the outlines
Often, I’ll sketch out my pieces using the ‘Maas Method’, which involves placing the reference photo alongside the canvas and aligning the main features to get my proportions accurate. For this demonstration, I roughly trace the photo to get a good likeness.
Step 4: Add color to the drawing
Once I have a good sketch, I’ll create a layer under the drawing and use the watercolor brushes. I’ll pick out the brightest colors from the reference and start adding them all over the canvas as a good base, not worrying about accuracy at this point - just color. It’s fun to watch the watercolors sliding and blending down the canvas, as they would in traditional work.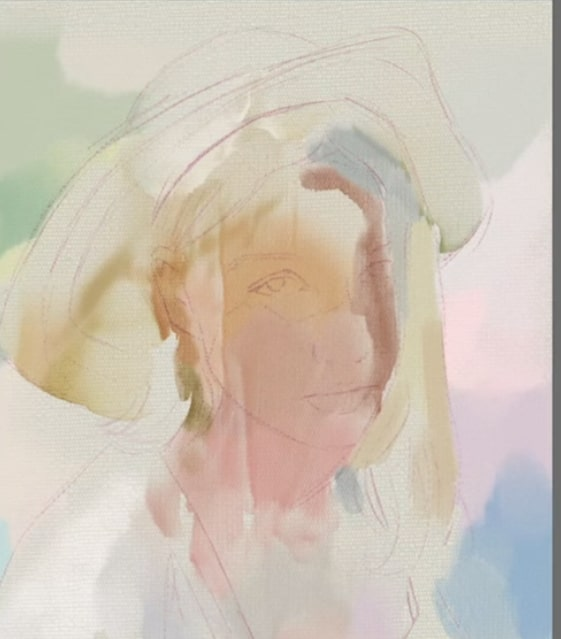
Step 5: Paint the portrait using media of your choice
Now that I have a good base established, I create a new layer and begin to paint with my favorite Rebelle brushes - the oils and acrylics! I start by adding the darks first. With the Pigment button selected, I can see the colors blending as I work. I pick colors from the reference I’ve edited and brighten up my colors by eye. 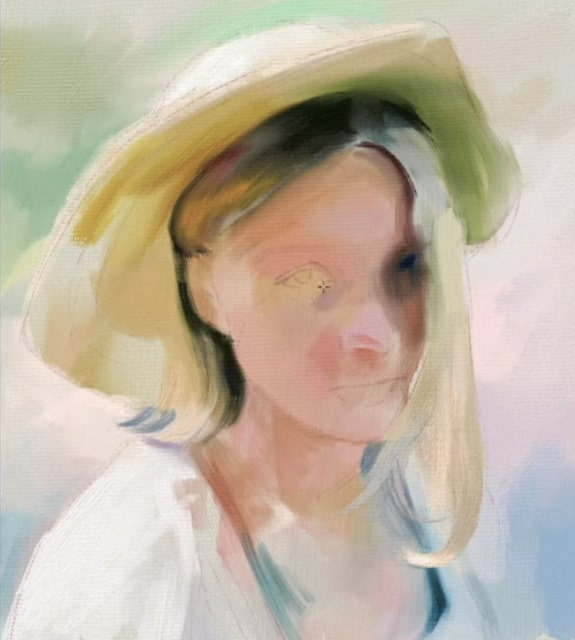
Step 6: Add details and depth to the painting
Once I’ve got the main shadows and highlights laid down, I’ll zoom in closer to start adding the more intricate details. 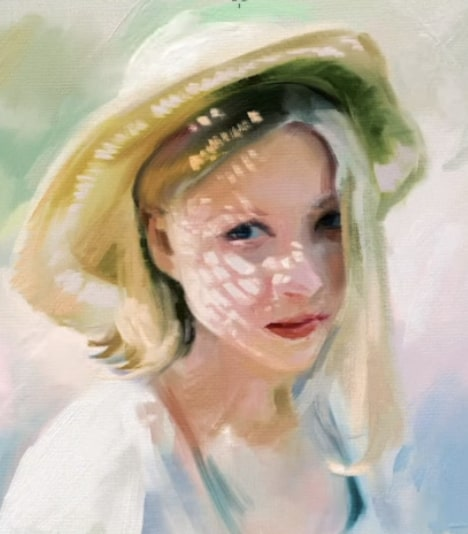
Step 7: Work on finishing touches
The final touch is one of my favorite things to do in Rebelle. I’ll grab the watercolors again and make a new layer. I turn both the water and opacity levels up to max and start creating new spots of color, creating some lovely abstract drip effects.
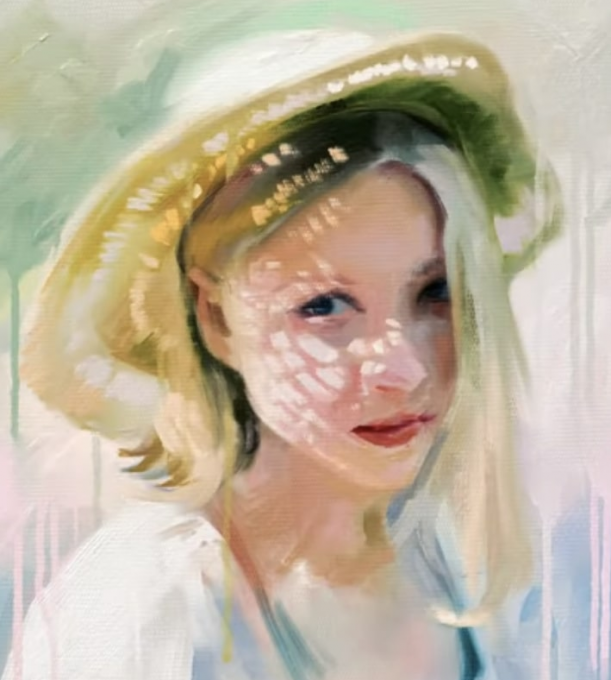
And here’s the finished piece! I hope you’ll be encouraged to give Rebelle a try, it’s very beginner-friendly, especially if you’ve been intimidated by digital artwork in the past.
Happy Painting!
Escape Motions
Text and images provided by Dame Deviant
-----
Learn more about Dame Deviant:
escapemotions.com/featured-artists/nicola-dunford
instagram.com/dame_deviant/
What do you think?
0 Responses
0
Upvote
0
Funny
0
Love
0
Surprised
0
Angry
0
Sad
Sign in to comment!
Be the first to comment.