

In 2025, 5.24 billion users scroll through social media daily. Because of this, you can't just make art, you have to make social media art. This means you need to plan for how it will look on different screens right from the beginning. Let´s walk through the steps to ensure your art can shine on social media.
"Social-ready" means more than just changing the size of a picture. It means making sure your art looks just as good online as it does when you're creating it. Social media platforms like Instagram and TikTok automatically change your files when you upload them. They often make the quality worse. If you don't prepare your art for this, the colors might look wrong, the picture can become blurry, and the whole thing can lose its power.
Why “Social-Ready” Matters
 Pictures for paper and pictures for phones are made very differently. Paper pictures are made with fine details and soft colors for things like magazines. But on social media, people look at pictures on a small, bright screen for just a moment.
Imagine a wide, movie-like landscape shot that looks breathtaking on a computer screen but feels dull once trimmed into a tall Instagram Story or Reels frame. With the right resizing, sharpening, and color tuning during thoughtful image editing, that same image transforms, standing out instantly instead of fading away in someone’s feed.
For photographers, digital artists, and illustrators, a social media painting is more than just something to share. It’s part of their portfolio, a way to show their unique style, and sometimes how they find new clients or collaborators. When your image size, format, and editing are done right, your work looks great on any screen and keeps both its sharpness and feeling.
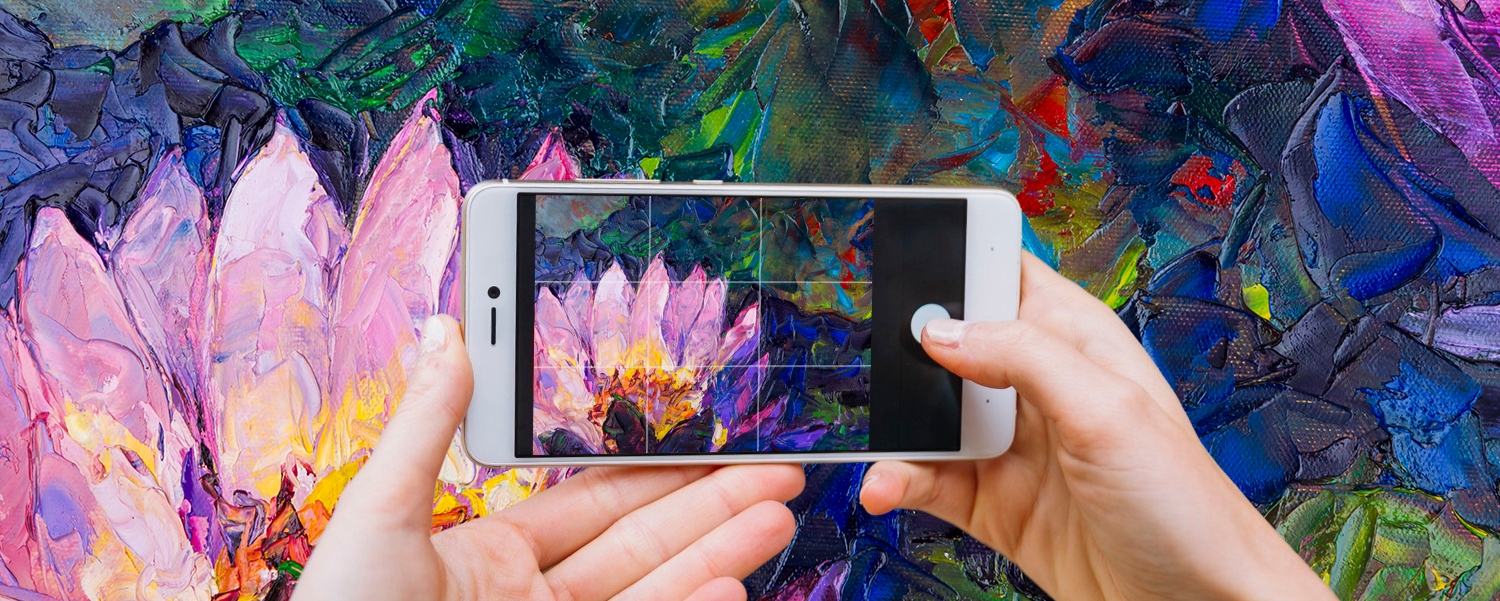
Aspect Ratios: Framing for the Platform
 Every social media artist who posts online knows that a great picture can be ruined if it doesn't fit the space. This is all about the shape of your picture (how wide it is compared to how tall). Websites and apps show pictures in different shapes. A picture that looks perfect in one shape might get cut off or look strange in another, especially on a phone.
To get their pictures ready for different apps to resize photos, many people use tools like Canva or Pixlr, or different apps to resize photos. These apps help you keep the quality high, try out different looks, and make several versions of your picture that all share the same style.
Of course, it is possible to resize your artwork directly in Rebelle. Either change the canvas size or use the Transform tool. When using the Pro edition, NanoPixel technology ensures your artwork keeps its details sharp.
Tip: To make your photos easier to adjust, leave some extra space around the main subject when framing. This way, you can crop the image later without cutting out anything important for different sizes or formats.
Export Settings: Quality vs. Speed
Using the right export setup helps your images stay sharp, colorful, and high-quality while making sure they load fast on every social media platform.
- File Format: When you create a picture, don't make it too tight. Leave some empty space around the main subject. This gives you room to cut the picture into different shapes (like a square for a post or a tall shape for a story) without accidentally cutting off the important part.
- File Sizes: Don't use giant files. Social media sites will shrink them down automatically. For pictures, try to keep the file size small. You can use a slightly bigger file for very detailed artwork, or later enlarge the file with NanoPixel export in Rebelle without losing its details. For videos, you can adjust a setting called "bitrate." A higher bitrate keeps the video looking clear, while a lower bitrate makes the file smaller but can make the video look blurry or blocky. In Rebelle, you can set the bitrate through the video "Quality" setting (higher quality means higher bitrate).
- Color Space: Always save your pictures using the "sRGB" color setting. This is the standard color language for the internet. It makes sure the colors in your art look the same on all phones, computers, and apps, so everyone sees what you intended. You can select a color profile in Rebelle Pro > Preferences > Color Management or directly through Menu > Edit > Assign Profile.
- Quality and Compression: Save images as JPEGs with quality around 80-90% to give platforms a clean file to compress. You can adjust the quality in Rebelle when saving each JPEG image. For time-lapse videos, choose H.264 or H.265 format and keep a steady frame rate between 24 and 60 FPS. Higher bitrates help keep the image sharp, but make sure the file size fits your platform’s upload rules to prevent slow uploads or buffering.
- Sharpening: Add gentle sharpening designed for screen display. Since social platforms often reduce image quality during upload, a bit of extra sharpness helps your digital artwork keep its small details and look clear on phones and tablets. Rebelle comes with a Sharpen filter and also a Subtle Sharpen for just small modifications.
- Batch & Presets: Create custom export settings for every platform in smart editors like Pixlr, Luminar Neo, and Aftershoot. These tools let you produce different versions of the same image, such as 4:5 for Instagram, 9:16 for Reels, and a square for your profile grid automatically, without having to resize each one yourself.
By using these simple steps, you make sure your art looks the way you want it to online. Getting the technical settings right isn't just a small task - it's how you promote your art on social media professionally and most effectively.
Retouching for Social

Editing your pictures is about more than just making them look neat. It's about making your art pop and keeping your unique style. Even with all the automatic filters available, human-touched photo editing still matters. It lets you add feeling and purpose that a computer can't. Small changes, like where you add light or how you direct someone's look, show your personal touch. This is what makes your art special and tells your story.
- Adjust for Small Screens: People scroll very fast on their phones. Make your pictures clear and bold, so they are easy to understand, even when they are small. Don't use tiny details that will disappear.
- Enhance Colors: Gently enhance the color intensity and brightness, but steer clear of heavy editing. Because social platforms tend to flatten or mute colors, adjusting them beforehand helps keep your hues lively and natural. Rebelle offers a variety of filter options to change color intensity and brightness. Use a consistent color theme across several posts to make your overall look easy to recognize.
- Sharpen Selectively: Sharpen the important parts of the image to make the main subject stand out. Be careful not to sharpen the whole picture too much, as it can make compressed images look rough or pixelated on some platforms.
- Retouch Skin and Details Thoughtfully: When editing portraits or lifestyle shots, reduce flaws gently while keeping the skin and natural texture realistic. Make sure fine details, such as brushstrokes or textures in social media painting, stay clear even after the platform compresses the image.
- Test Across Devices: Always check your final picture on a phone before you post it. It will often look different there than it does on your computer screen. Make a few small changes so it looks its best for everyone scrolling on their phones.
Final Thoughts
Making your art fit for social media isn't about limiting your creativity. It's about making sure it looks its best on the screens where people will see it. According to Exploding Topics, on average, people spend over two hours every day on these platforms. So, when you learn to adjust your pictures and videos for them, you are directly improving your ability to share your art and get it noticed.
When you plan, color, and finish your artwork with the platform’s format in mind, it keeps its strength and beauty even on small screens or compressed feeds. Preparing your art for social media helps your creativity stand out clearly, allowing your work to look bright and impressive without losing your original style.
-----
Guest post and graphics provided by the Fixthephoto editorial team
What do you think?
0 Responses
0
Upvote
0
Funny
0
Love
0
Surprised
0
Angry
0
Sad
Sign in to comment!
Be the first to comment.