

Throughout this year, we’ve shared our plan to deliver continuous updates and enhancements to Rebelle, and today, we’re excited to take the next step. Rebelle 8.2 is here, introducing a collection of practical new features designed to make your creative workflow smoother and more enjoyable.
Many of these improvements were shaped with the help of our dedicated beta testers (thank you!). Now, we’re excited to share them with the entire Rebelle community. Let’s take a look at what’s new (and do not miss the bonus at the end):
1. Rulers: Measurements for Line & Ellipse Tools
Rebelle now gives you real-time feedback on length, angle, and diameter while using the Line and Ellipse tools, making precise drawing easier than ever. Simply enable the new 'Show Measurements' option in the Rulers panel, and the information will appear instantly as you work. Perfect for technical details, accurate shapes, or any artwork that needs an extra level of control. The Line and Ellipse tool can now show the measurements for the length, angle and diameter
2. Selection Tools: Expand & Contract
Fine-tune your selections with the new Expand and Contract options, giving you precise control over edges and boundaries. You can now grow or shrink any selection by an exact number of pixels. These tools make it easier to clean up outlines, adjust masks, or refine detailed areas of your artwork.
These new tools are located in the updated Select menu (from the main menu).

3. Gradient Maps: for both Filters & Filter Layers
Bring a whole new mood to your artwork with the new Gradient Maps feature, now available both as a direct filter and as a non-destructive Filter Layer. Gradient Maps let you remap the tonal values of your image to a custom gradient, allowing you to shift colors, enhance contrast, or completely reinvent the atmosphere of your piece with just a few clicks. From subtle color grading to dramatic stylized effects, this tool opens the door to fast, intuitive color transformations.
You’ll find Gradient Maps in the newly reorganized Filter menu (from the main menu), as well as in the Filter Layers section of the Layers panel. Whether you prefer quick edits or a fully adjustable, layer-based workflow, Gradient Maps make creative color exploration easier than ever. Gradient map Filter Layer applied on Els Munts artwork (see original)
4. Layer Masks: New Viewing Modes
We’re bringing two features that make working with layer masks more intuitive:
• View Layer Mask: Alt-click any mask to display it as a full grayscale image, giving you a clear look at its details and transitions.
• Overlay Layer Mask: Press "\" to show the mask as a transparent overlay directly on your artwork, making it easy to see exactly what’s being revealed or hidden.
You can customize the overlay’s color and opacity in Preferences > Color > Layer Mask to fit your workflow. View Layer Mask: Use Alt or right-click on the layer
 Overlay Layer Mask: Use \ or right-click on the layer
5. Merge Visible to New Layer
One of the highly requested features is here! You can now merge all visible layers into a new layer while keeping your original layers untouched. Great addition for non-destructive workflows, experimentation, and advanced compositing.
You’ll find the 'Merge Visible to New Layer' option in the Layer menu (from the main menu) as well as in the Layer panel’s context menu (right-click on any layer). Merge visible layers into a new layer; original layers remain intact
6. Improved Symmetry Tool
You can now fine-tune both the symmetry angle and axis directly through the new Edit Symmetry button in the Rulers panel. This gives you much more flexibility and creative control when designing balanced shapes, patterns, or mirrored artwork.
 Edit Symmetry's angle and axis position
7. Improved Deform & Perspective Tools
Deform and Perspective transformations now include linked side anchor points, making adjustments more efficient.
8. Bristle Brushes: Dirty Brush
Add natural, organic color variation to your strokes with the new Dirty Brush option, similar to Texture brushes, but with a bristled feel. Red stroke over the Violet and Yellow paint (left), and then paint with dirty red color (right)
9. Bristle Brushes: Stroke Length
Fine-tune the expression of bristle strokes using the Length slider. We also added Length Oiliness Fadeout in Brush Creator to control how oiliness behaves when paint runs out (Brush Creator panel > Bristle Brushes > Paint > Mixing). Length set at 20 and at 50, with 'Paint & Mix' mode
10. Redesigned Visual Settings Panel
The Visual Settings panel has been refreshed with a cleaner, more organized layout. Its sections are now fully collapsible, letting you hide or reveal groups of settings with a single click. This makes it easier to focus on exactly what you need while keeping the interface uncluttered.
The panel is now divided into these sections:
• Rendering
• Watercolor Behavior
• Oils & Acrylics
• Metallic Materials
• Canvas Visibility Visual Settings panel in Rebelle 8.2
BONUS: Improved W/C Bristle Brushes + 2 Brand New Added
With the new enhancements for bristle brushes, we’ve been able to refine the existing watercolor bristle brushes so they look and behave more natural. The three default brushes have been improved, and we’ve also added two brand-new watercolor bristle presets to brighten your creative days. :)
If you’re installing Rebelle for the first time, these updated brushes will be included automatically.
If you already have Rebelle installed, simply download the new watercolor brushes from this link and drag & drop the .zip file into Rebelle 8.2 to install them.
Bug Fixes & Improvements
Rebelle 8.2 also includes a collection of important changes and fixes:
Changes:
- Merged visible layers now use the default name "Merged Visible"
- Drag & drop color swatch from actual Color set to gradient or gradient map
Fixes:
- Texture Brushes: Corrected inconsistent 'Follow Brush Size' behavior
- Texture Brushes: Improved texture scaling for Shape and Dual Brush
- Texture Brushes: Shape alpha blending now works correctly in Blend modes
- Bristle Brushes: More accurate results at very small sizes
- Double-clicking a layer mask thumbnail no longer triggers renaming
- GUI elements on the canvas now render correctly without artifacts
- Color Wheel: Harmony swatches now display correct colors
- Painting on a layer mask or selection now respects canvas structure and ignores paint structure
- Merging layers now works correctly when clipping masks are involved
- Warp and Deform: Transform box now renders correctly at all angles without artifacts
- Symmetry Tool: Added snapping to Grid, Guides, Canvas bounds, and Shift for angle snapping
- Grid: Fixed subdivision hiding
- Improved point grabbing accuracy in the Color Wheel
- Structures: Fixed noticeable seam if 'Tile' was selected
- Fixed undo after importing a picture as a new layer
- Ellipse Selection: Fixed scaling from the center when the Alt shortcut was used
Go ahead and download the latest Rebelle 8.2 update from your Community profile. You can access the download links to the update also from within Rebelle 8, just go to the menu Help > Update to 8.2. This update is free for all Rebelle 8 users.
Thank You for Being Part of the Journey
We’re committed to making Rebelle the most natural, powerful digital painting experience, and your feedback continues to guide our development. Rebelle 8.2 is just one of the updates coming, and we can’t wait to share what’s next.
Enjoy the new tools, explore, experiment, and keep creating.
With gratitude,
The Escape Motions Team
----
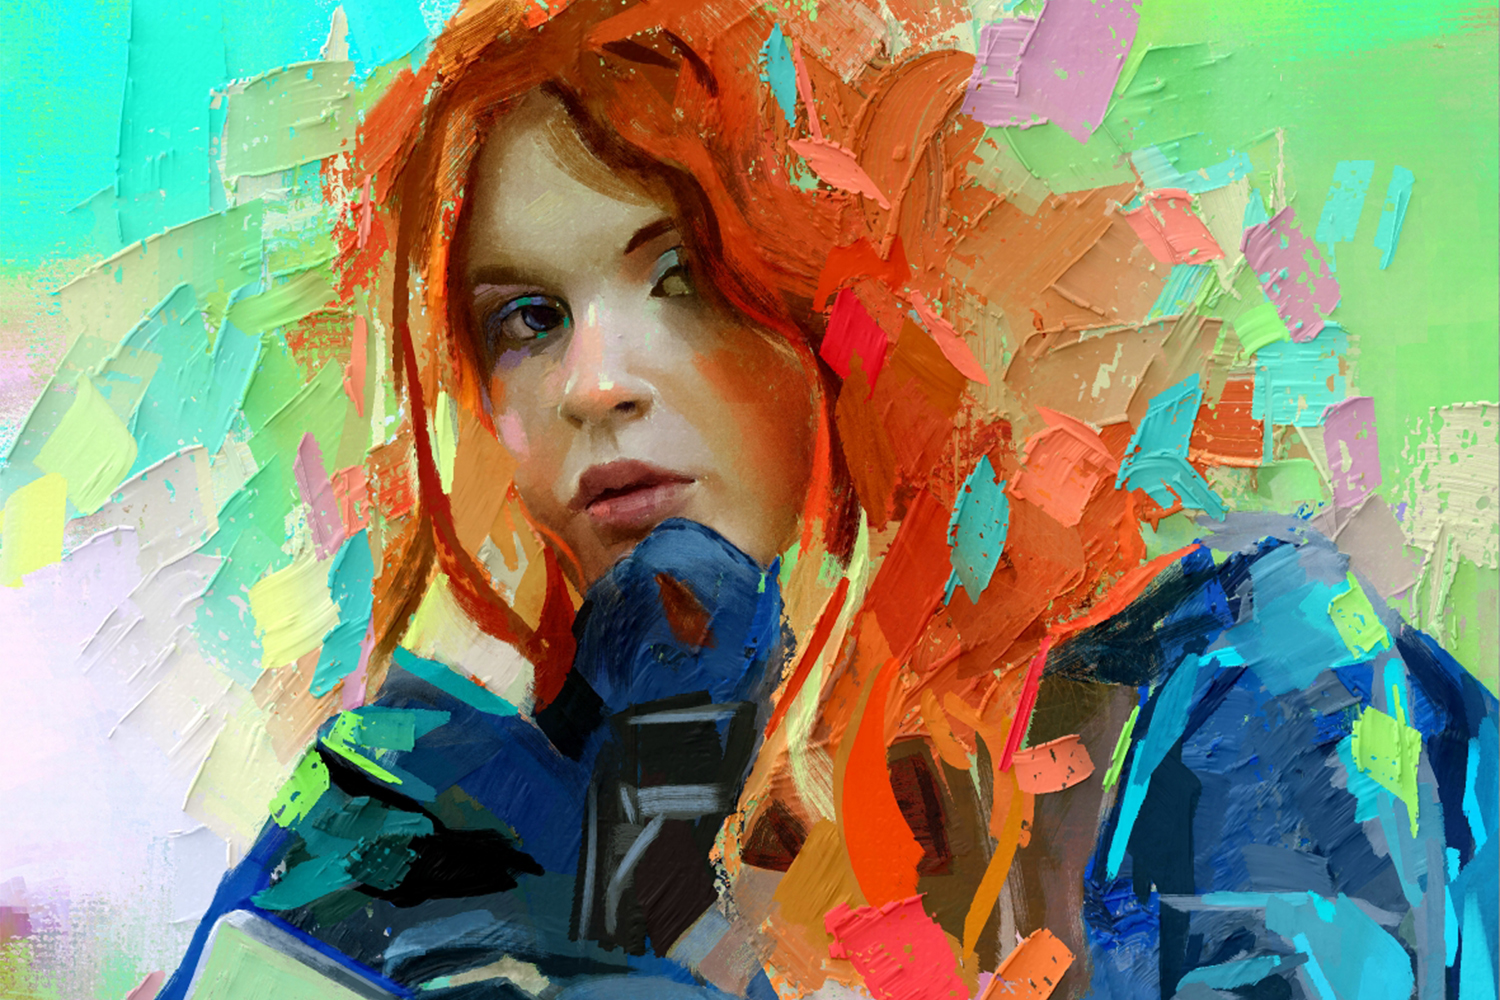
Cover image made in Rebelle 8 Pro by Georg Ireland | Visit Portfolio
Image credits: Els Munts by Carles
What do you think?
0 Responses
0
Upvote
0
Funny
0
Love
0
Surprised
0
Angry
0
Sad
Sign in to comment!
Be the first to comment.